uh-manoa-meteorites.github.io
Table of contents
- Overview
- User Guide
- Milestones
- Community Feedback
- Developer Guide
- Deployment
- Team Members
Overview
We are aiming to create an application that better links volunteers with organizations. This app will better display relevant information with regards to volunteer work specifically and put volunteers in touch with the right people, rather than navigating complicated organization websites. We also plan to be able to filter a map of the island in order to better display more convenient opportunities for users.
User Guide
This is a user guide for Volunteer Ally.
Landing Page
The landing page is kept simple with a navigations bar, top visual information section
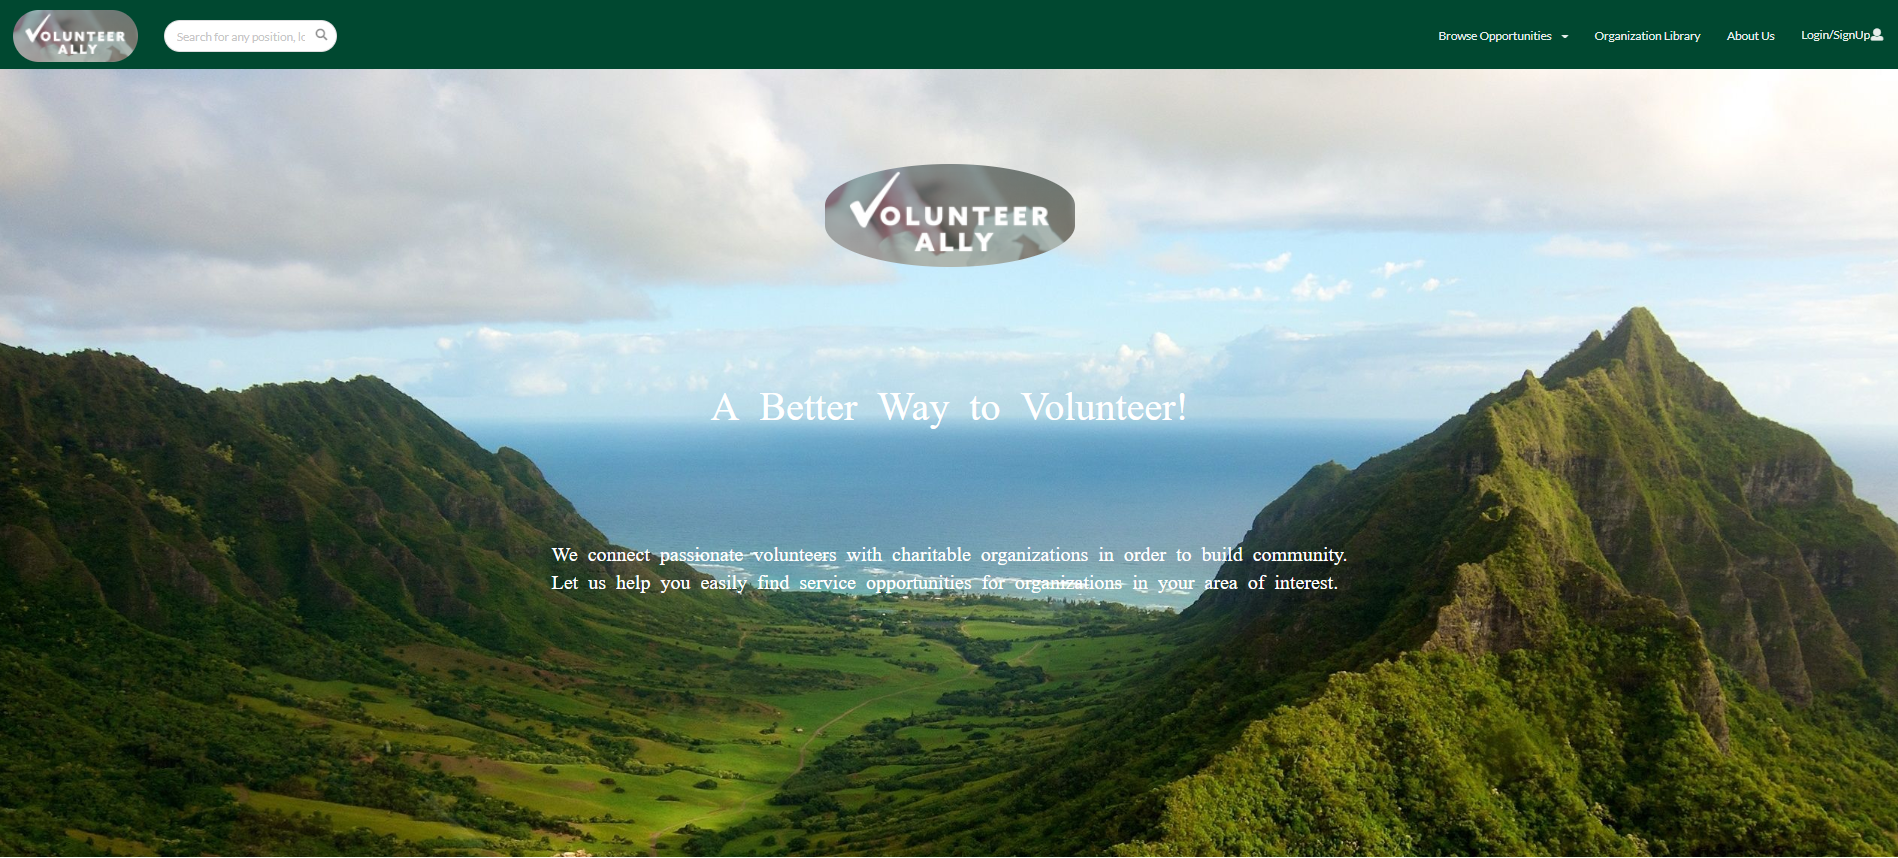
Randomly generated opportunities filling out the middle

Sign up option with footer at the bottom

Most of the purposeful interfacing users do with the application do not derive from the landing page, however there are a few options
Login Page
jump to table of contents
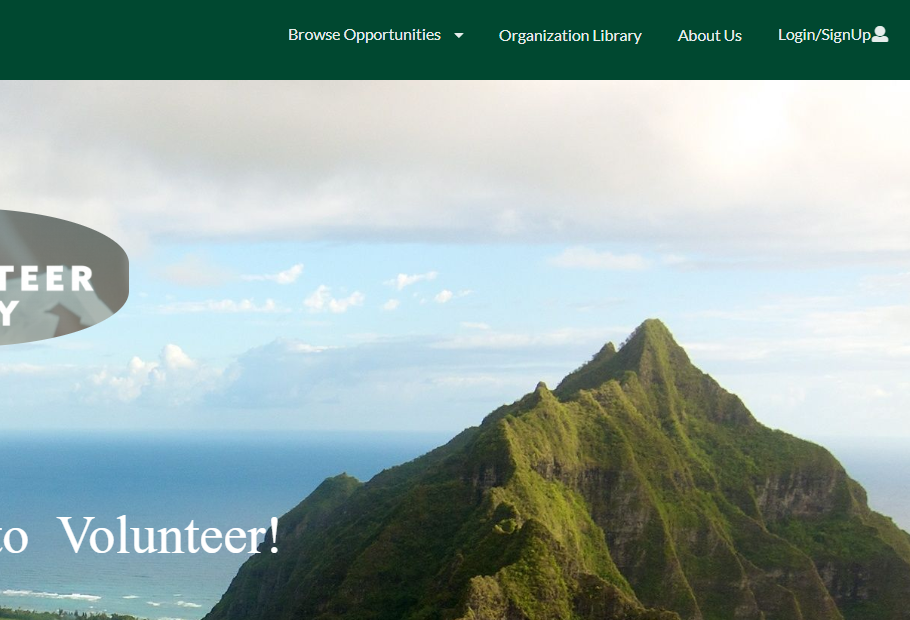
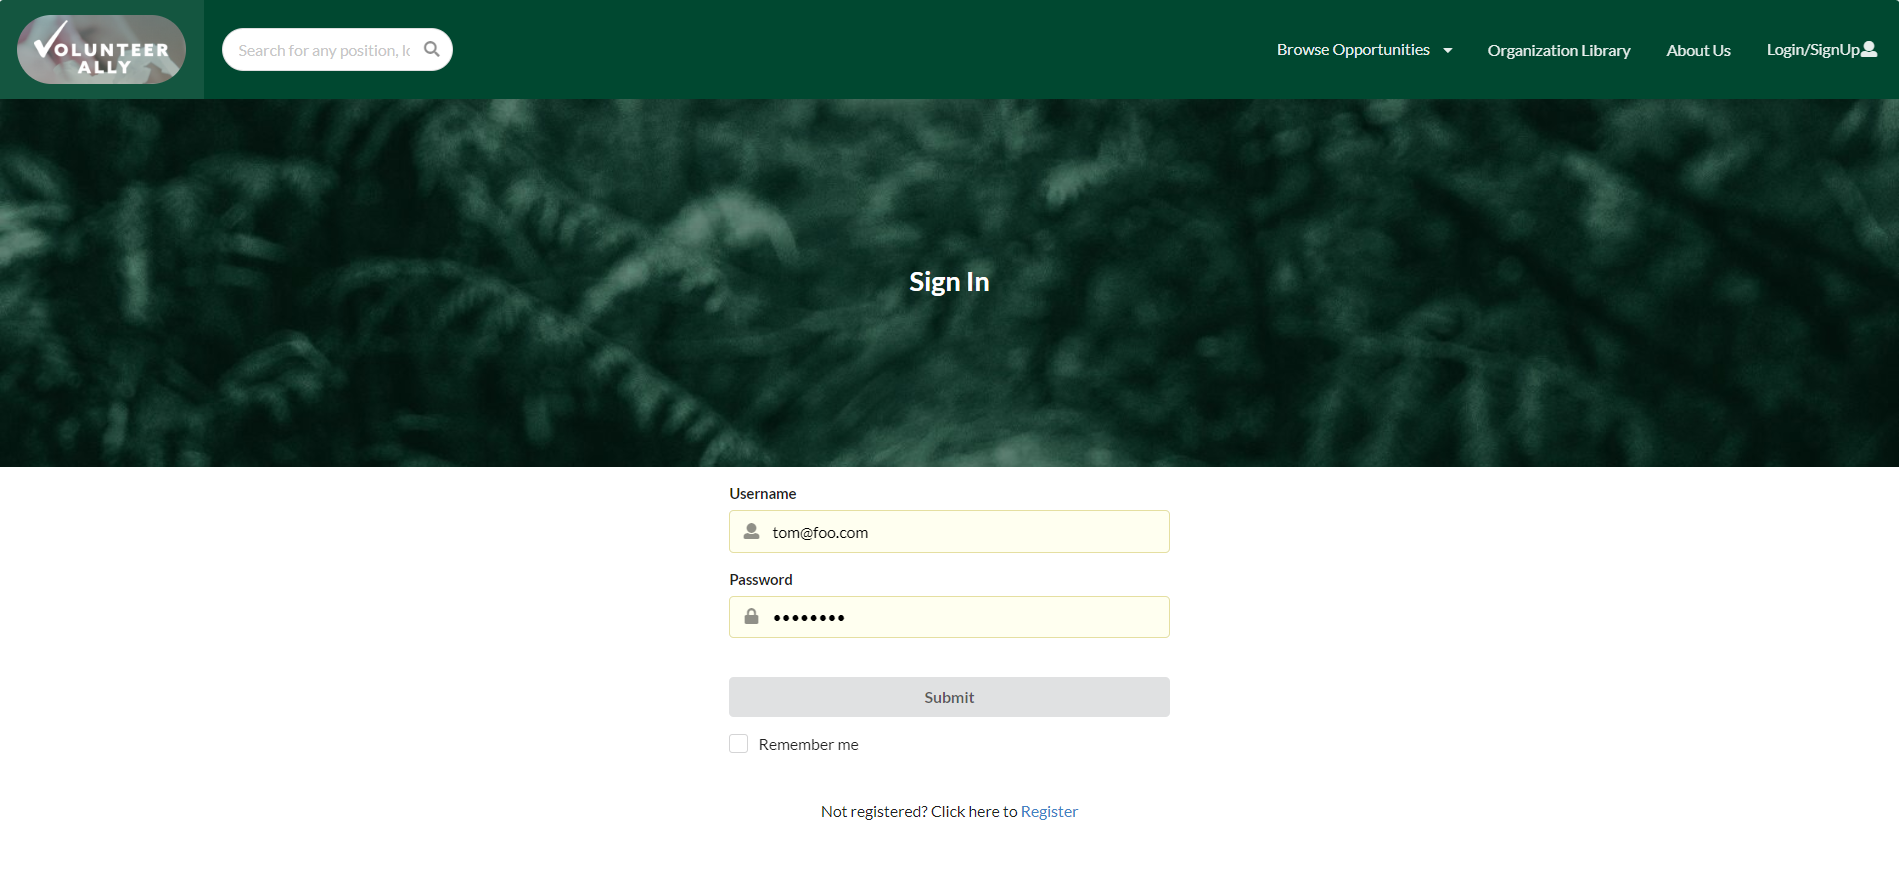
To log into a pre-existing account, or to create an account, click the LogIn/SignUp button at the top right corner.
 Login to an account here, or click register to sign up!
Signup/Register Page
To create an account, enter the following information and be sure to be older than 16 years of age!
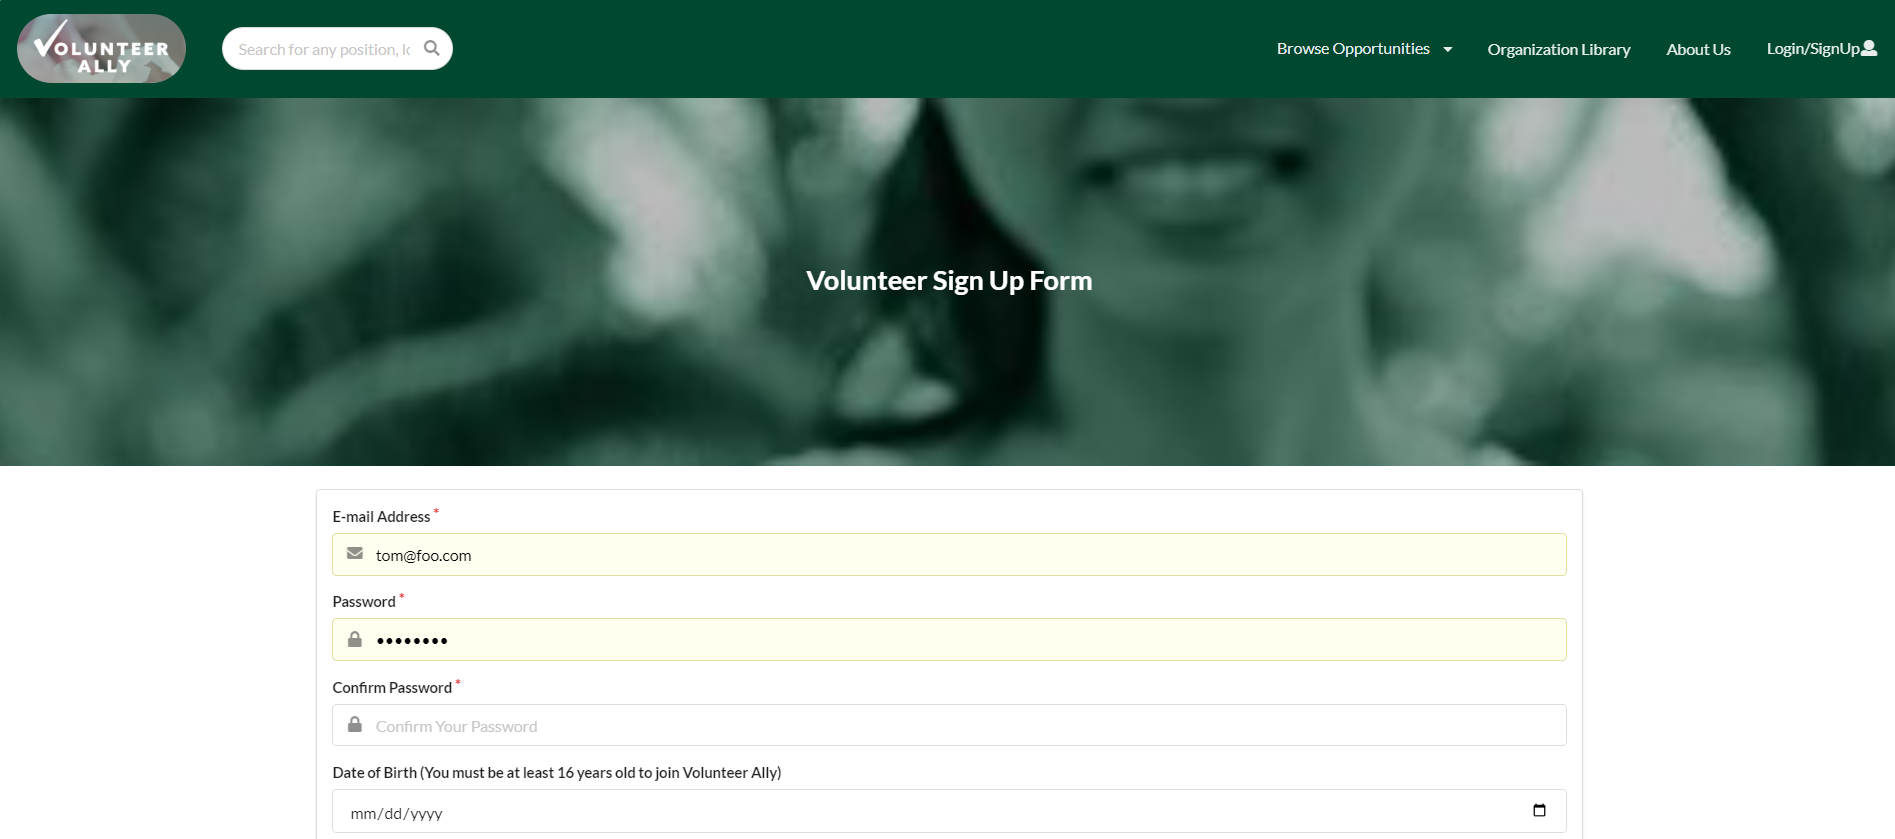
Continue by filling out the information, anything marked with a red asterisk is required. Choose special interests, upload a profile picture, and pick special skills to be displayed on a profile page.
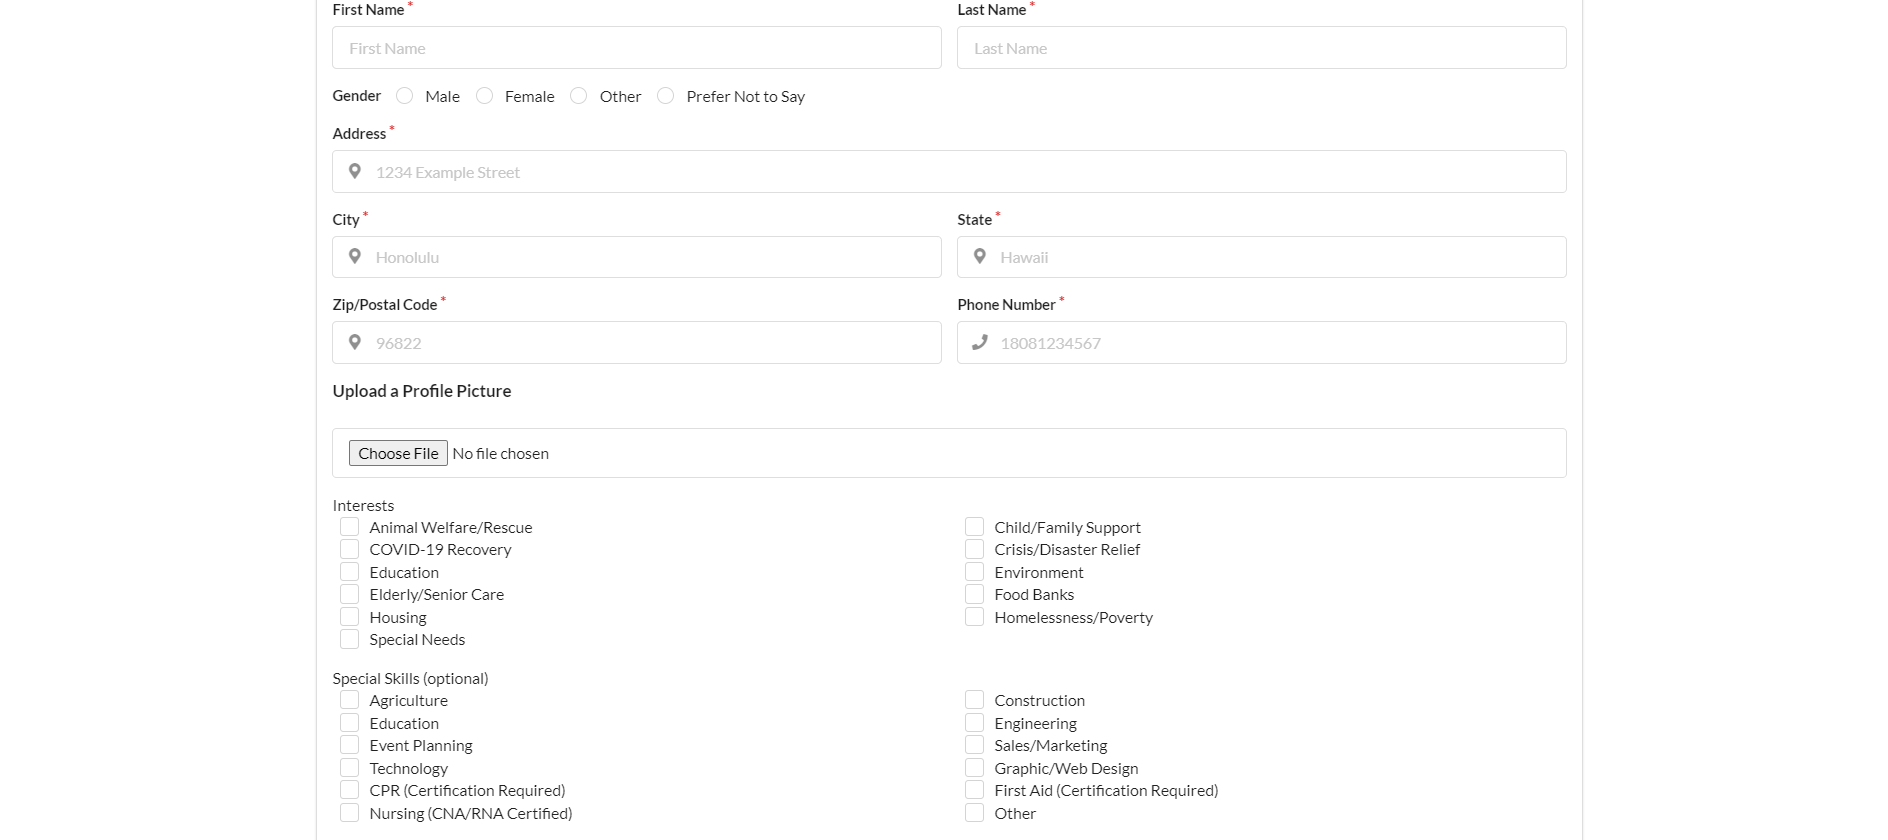
Make sure to agree to the terms and conditions and select any availability or environmental preference of note.

Finally click Sign Up to finalize an account
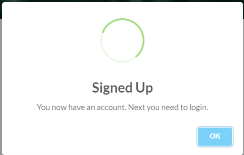
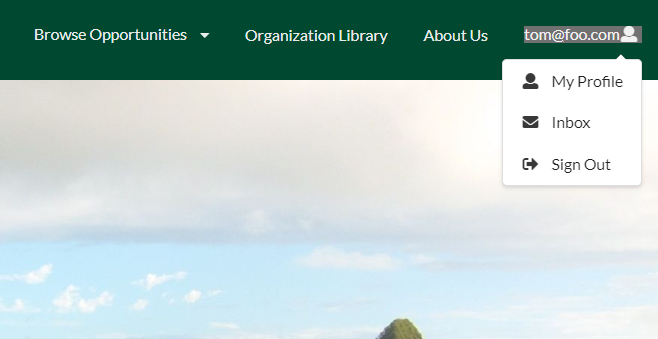
Log in with the new credentials Login Page and the default profile page can now be viewed by the My Profile button on the top right corner
Volunteer Profile Page
jump to table of contents
Logging in will route the user to their profile page, but at any point the profile page may be viewed via the My Profile button in the top corner of the page on the navigation bar.
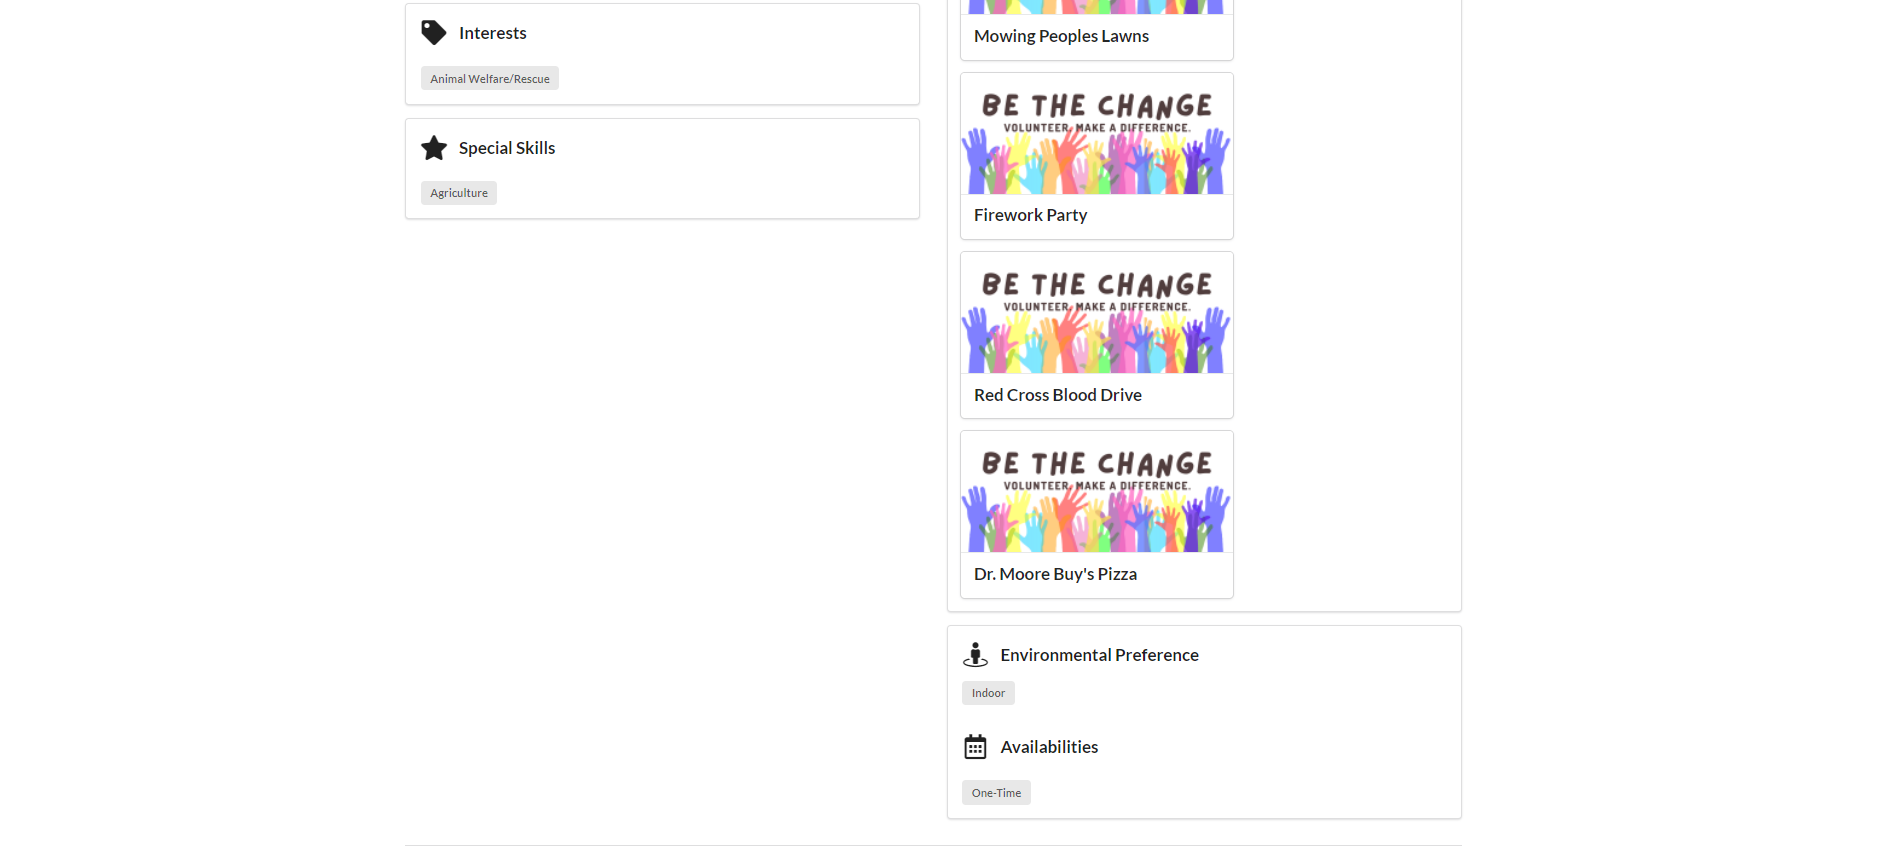
A basic volunteer profile looks similar to this:
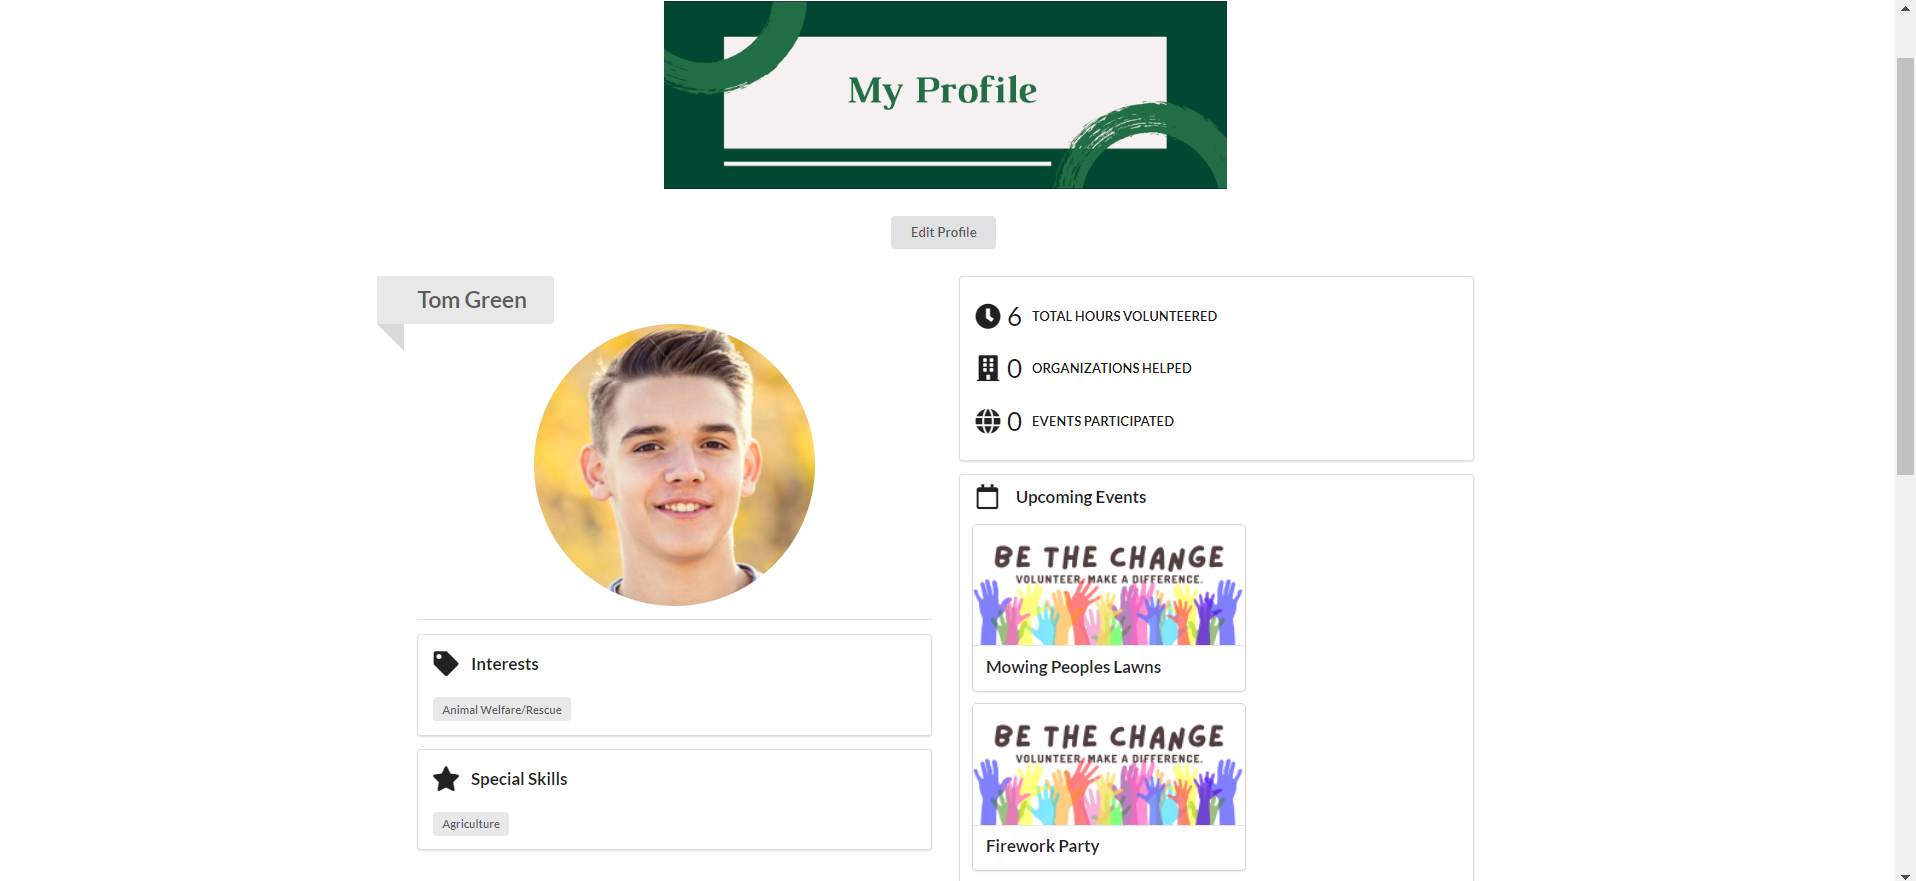
Opportunities the volunteer is interested in are displayed as well as the total number of hours volunteered and other useful information. The bottom portion of the profile page shows other special interests.
Edit Volunteer Profile Page
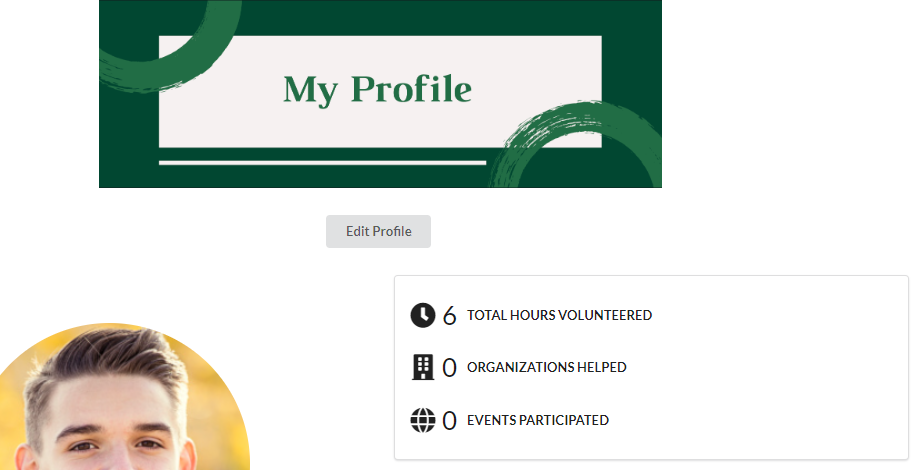
To edit or update any information on the profile page or to change a picture, click on the Edit Profile button
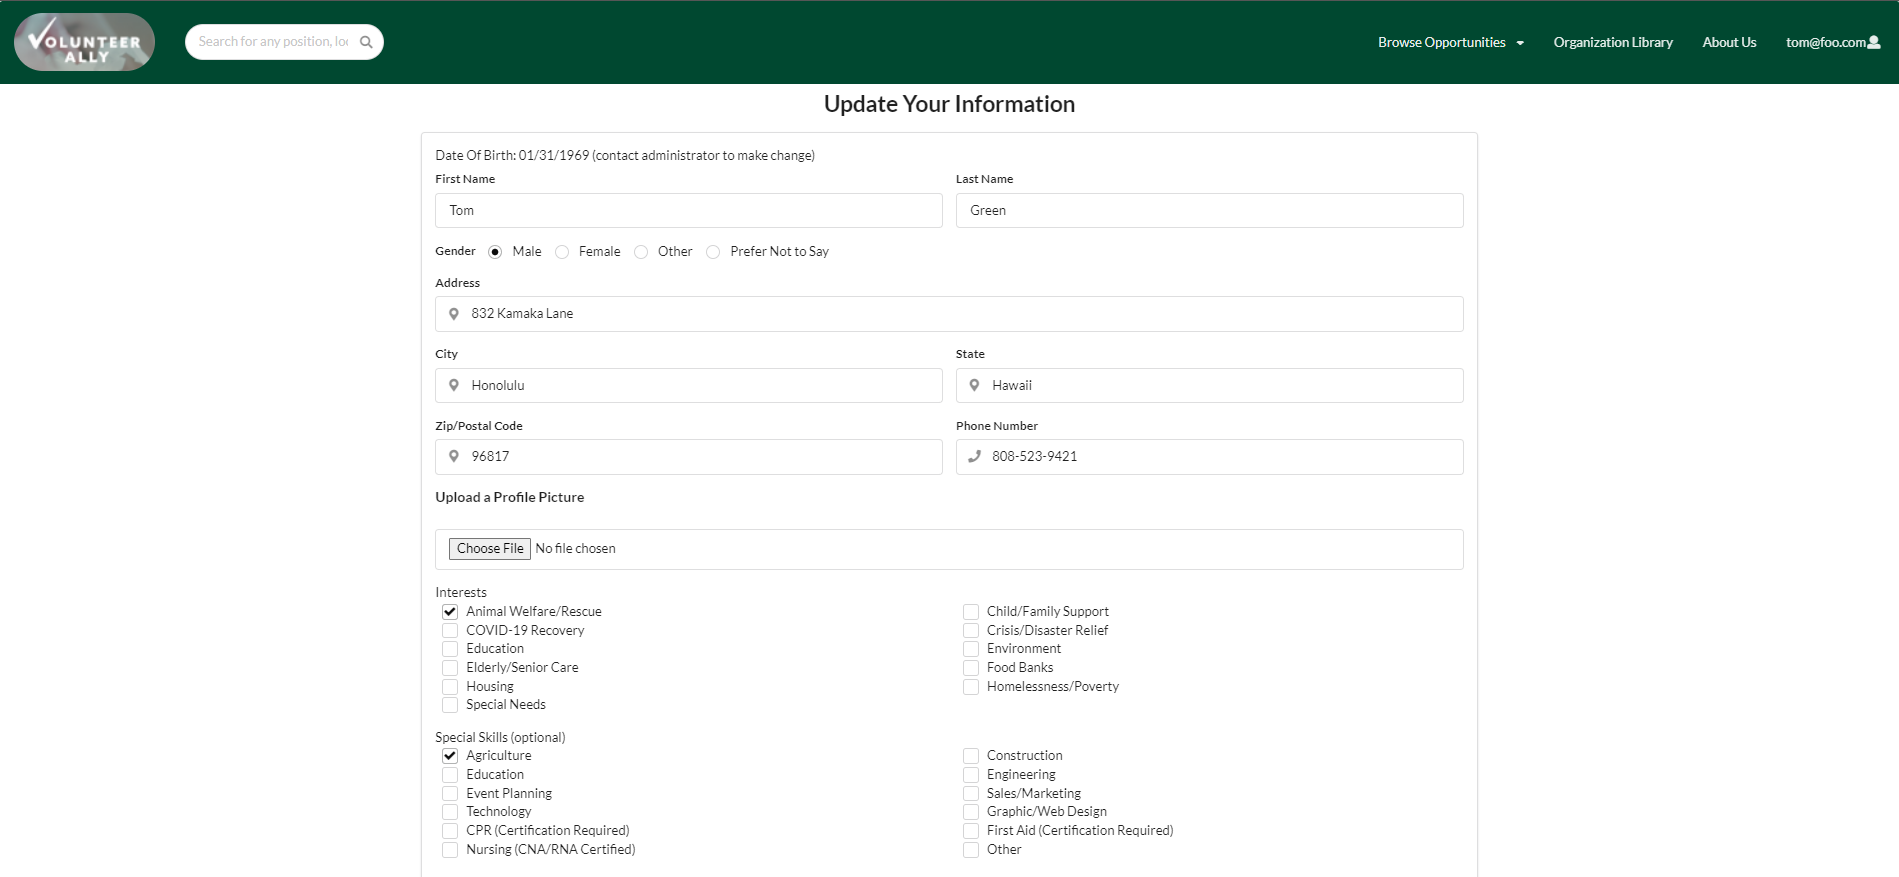
The Edit Profile Page will now be displayed, if no changes are made or the submit button is never clicked the profile will remain unchanged. Edit any information or change the picture.
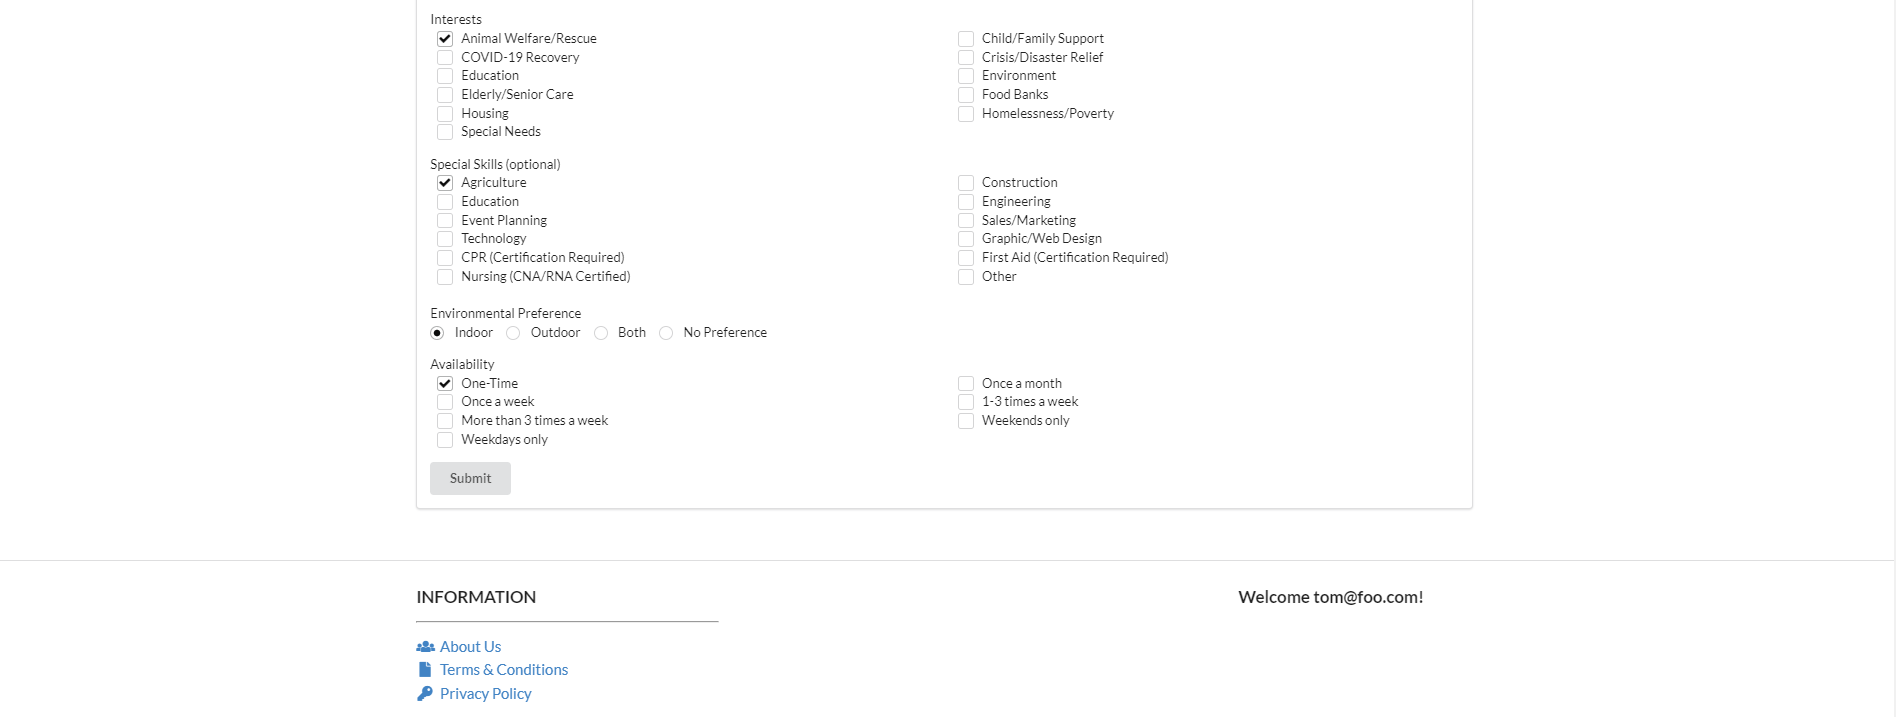
Update any new abilities or change in environmental preference
When the changes are completed, click Submit and this message will display confirming changes were successful
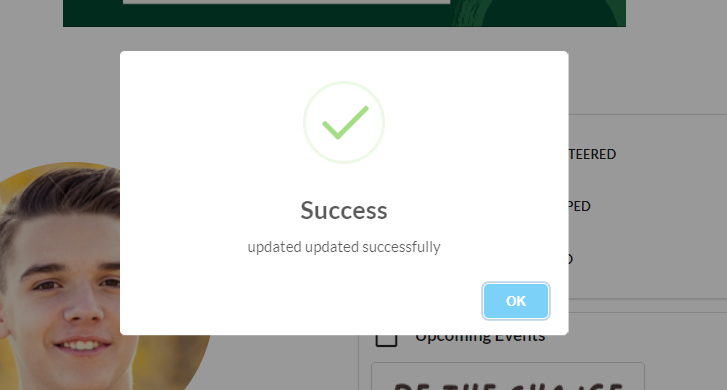
All changes are now reflected on the volunteer profile page
The Search Bar
jump to table of contents
At any point, the search bar can be used regardless of login status, the search bar is displayed on the top left of the page on the navigation bar

Opportunities can be searched by both Title and Organization
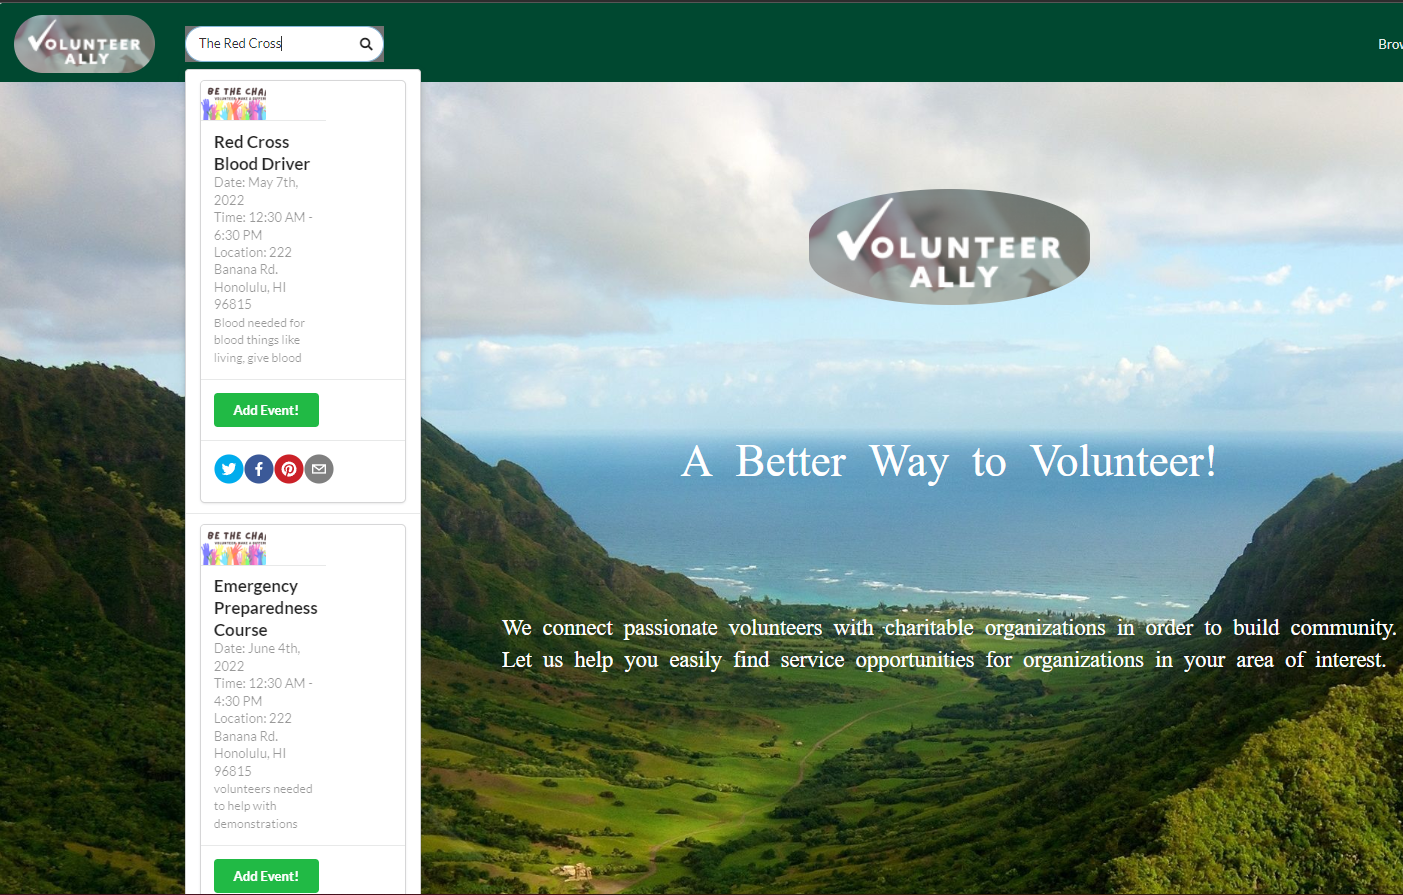
Click on any card display further information or even add the opportunity to the list and share to social media (must be logged in to add/share the opportunity).
Browsing Opportunities
There are two different ways to look for new opportunities to volunteer for.
Browse All Opportunities
To view all upcoming opportunities, simply click the browse opportunities tab button to display the browse all option
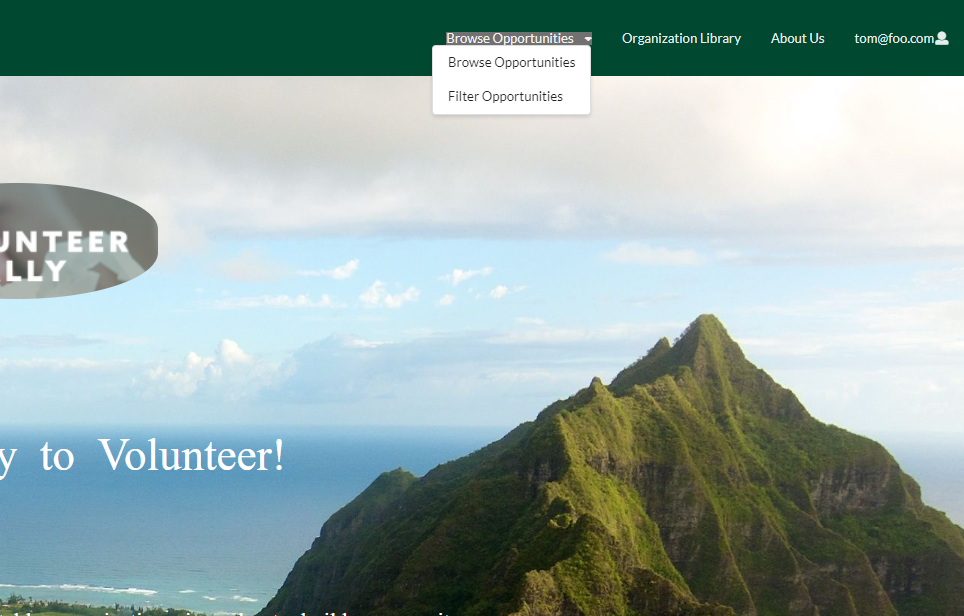
Then click Browse Opportunities to view this page
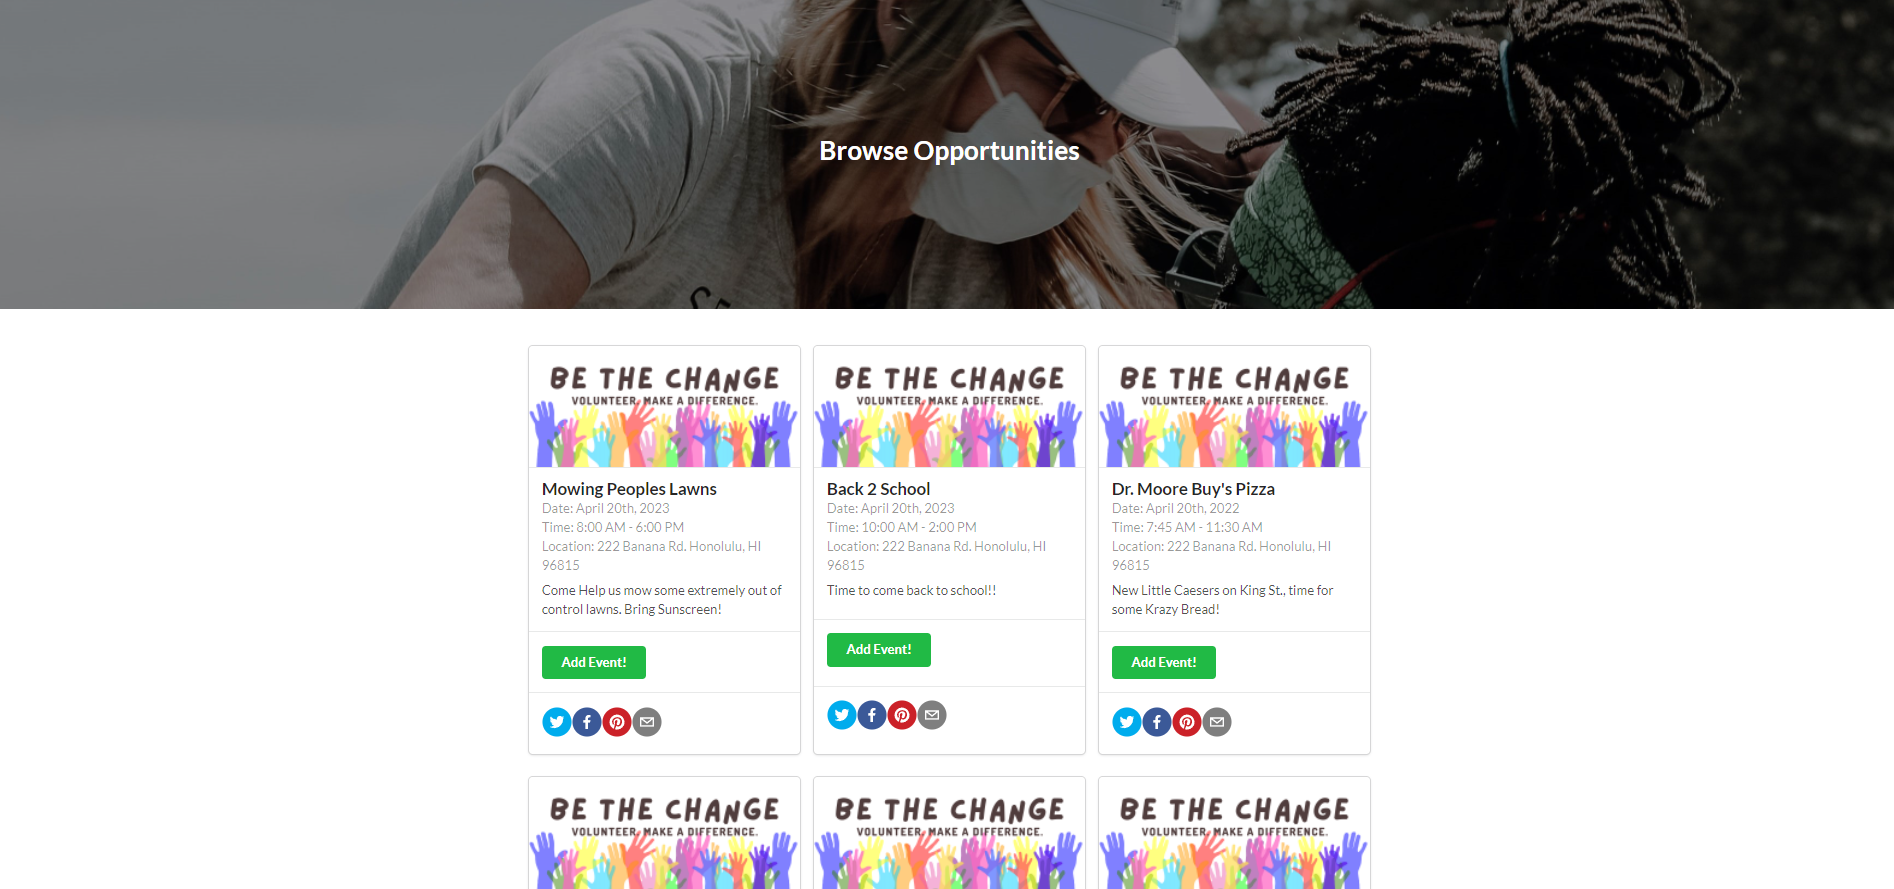
From here all upcoming opportunities from all organizations can be viewed added, or shared (must be logged in to add or share)
Find a Specific Opportunity
Opportunities can be search by interest, special abilities, organization name or environmental preference by clicking the Filter Opportunities button on the top right of the page on the navigation bar
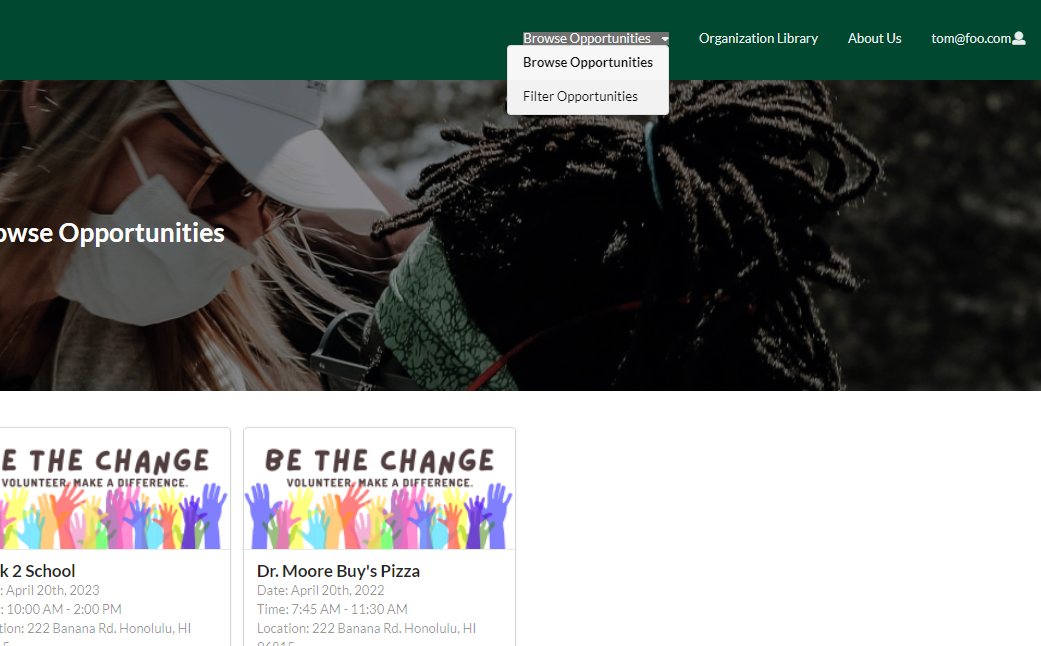
Clicking the button will display the filter opportunities page
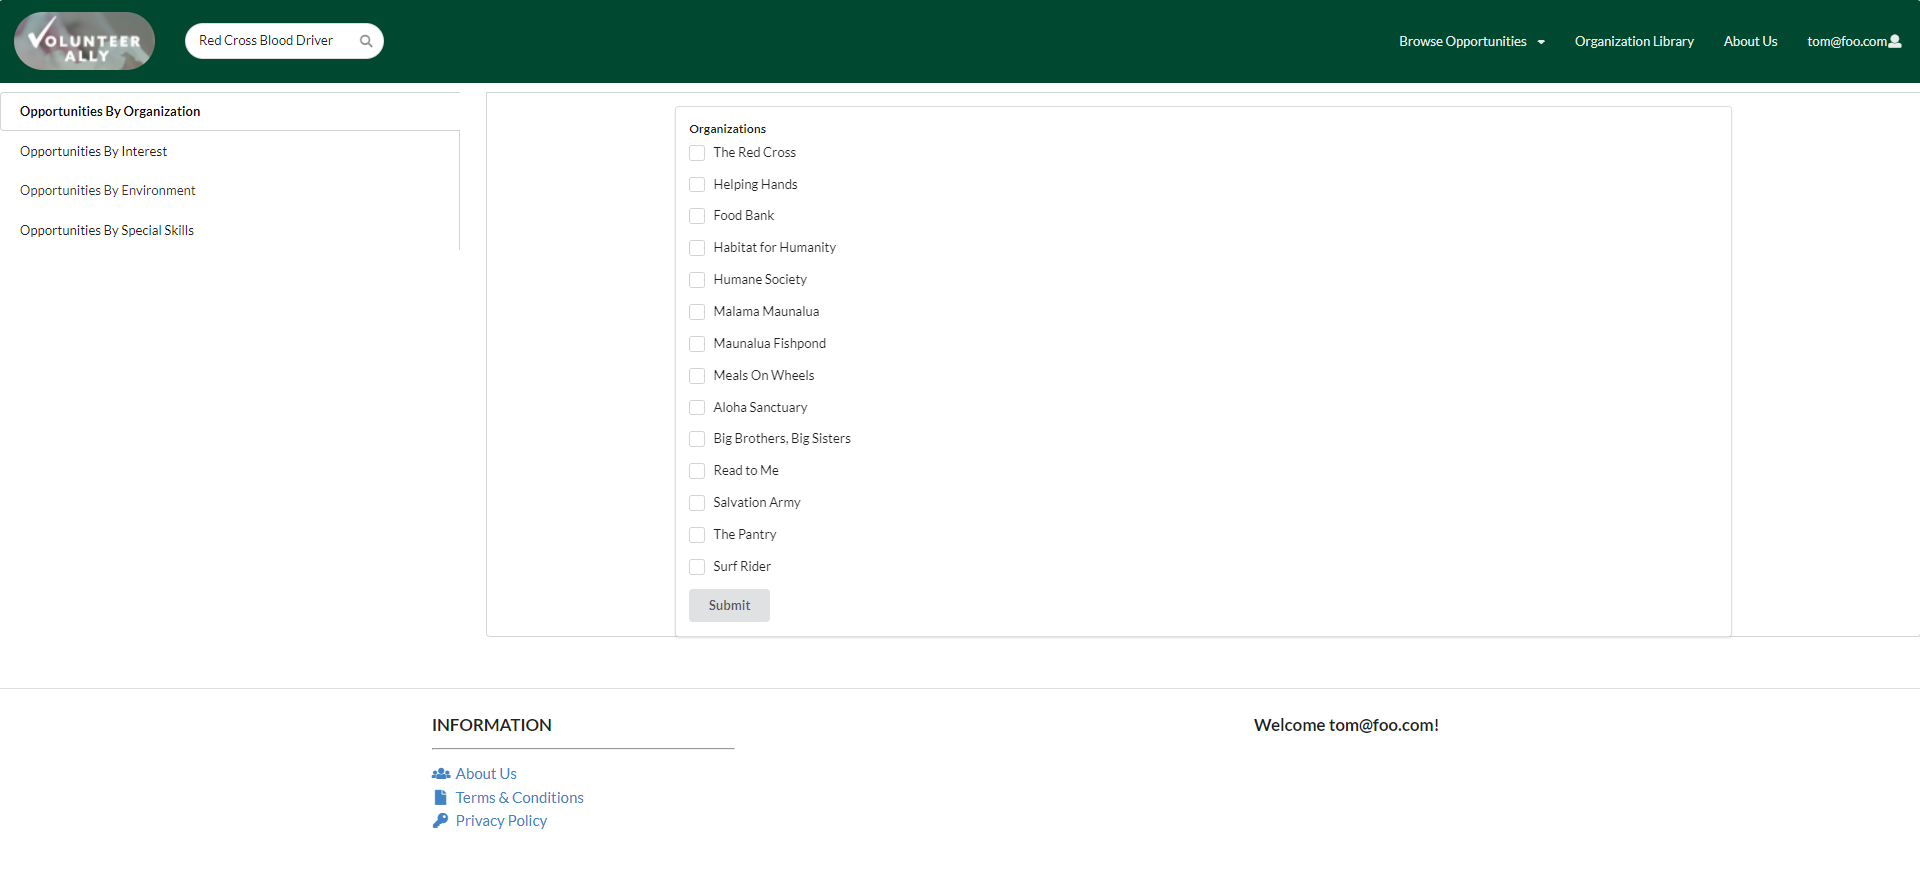
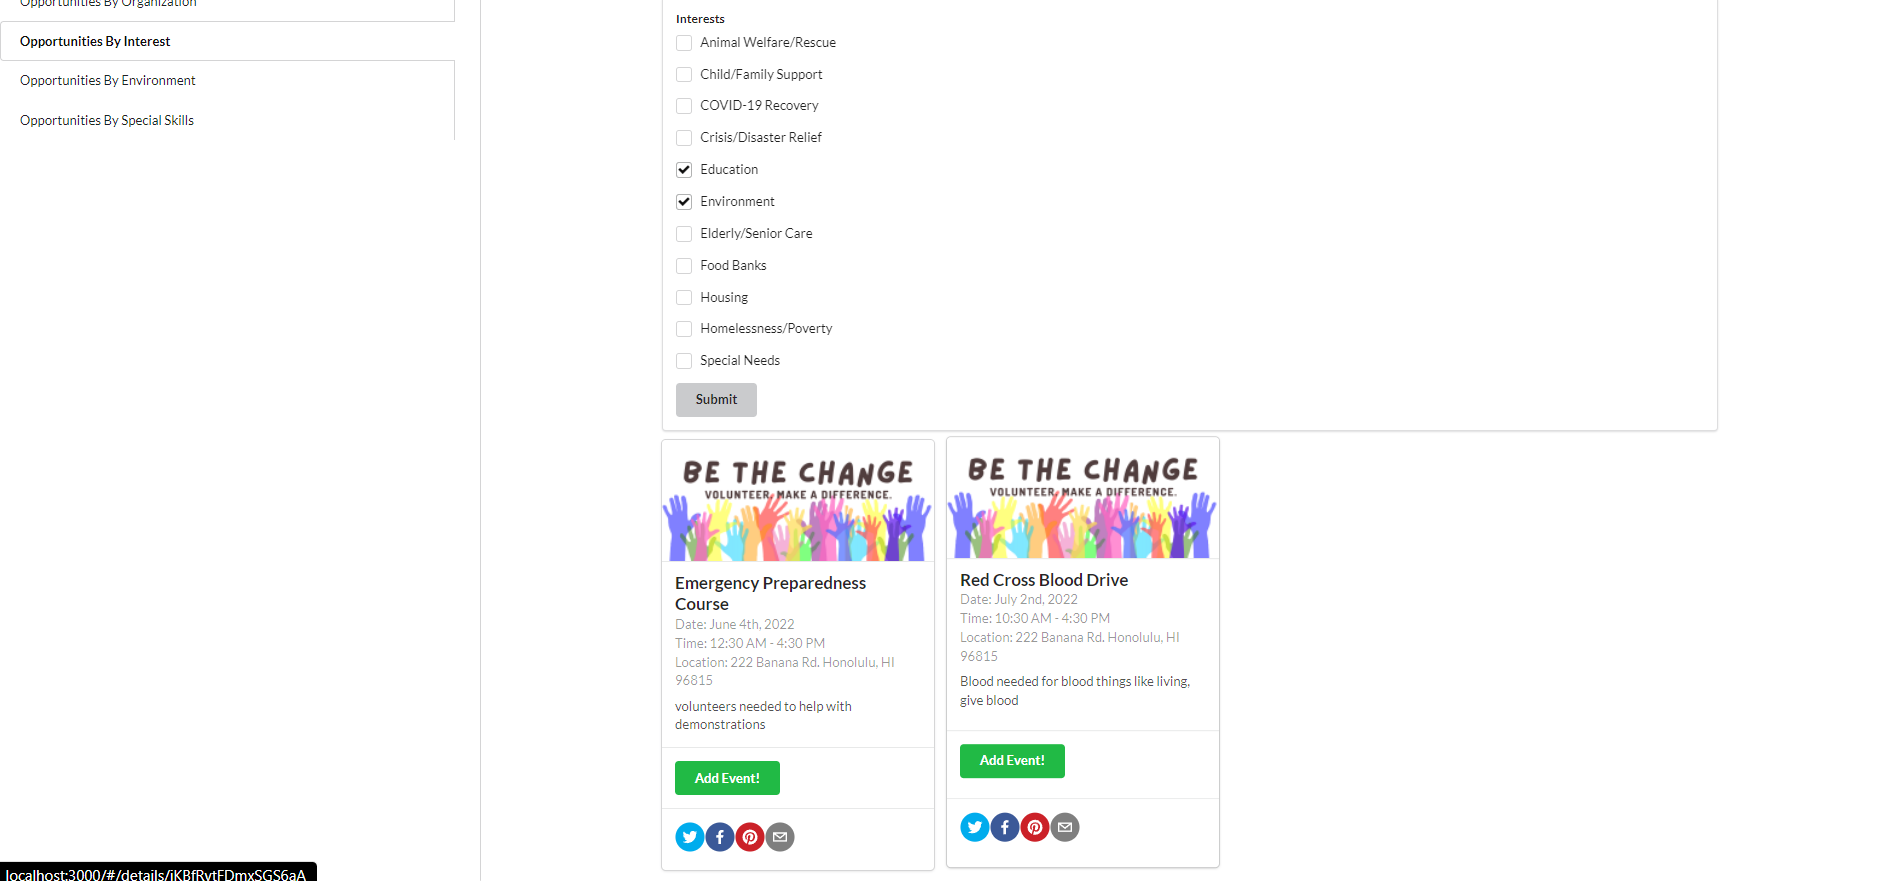
Click any of the tabs on the left hand side to search specific opportunities by the desired category, for example, a volunteer may be interested in opportunities involving environment, education or both

In this case, only opportunities involving both environment and education are displayed when clicking the Submit button
Removing the education interest by unchecking the box and clicking submit will display only opportunities relating to environment
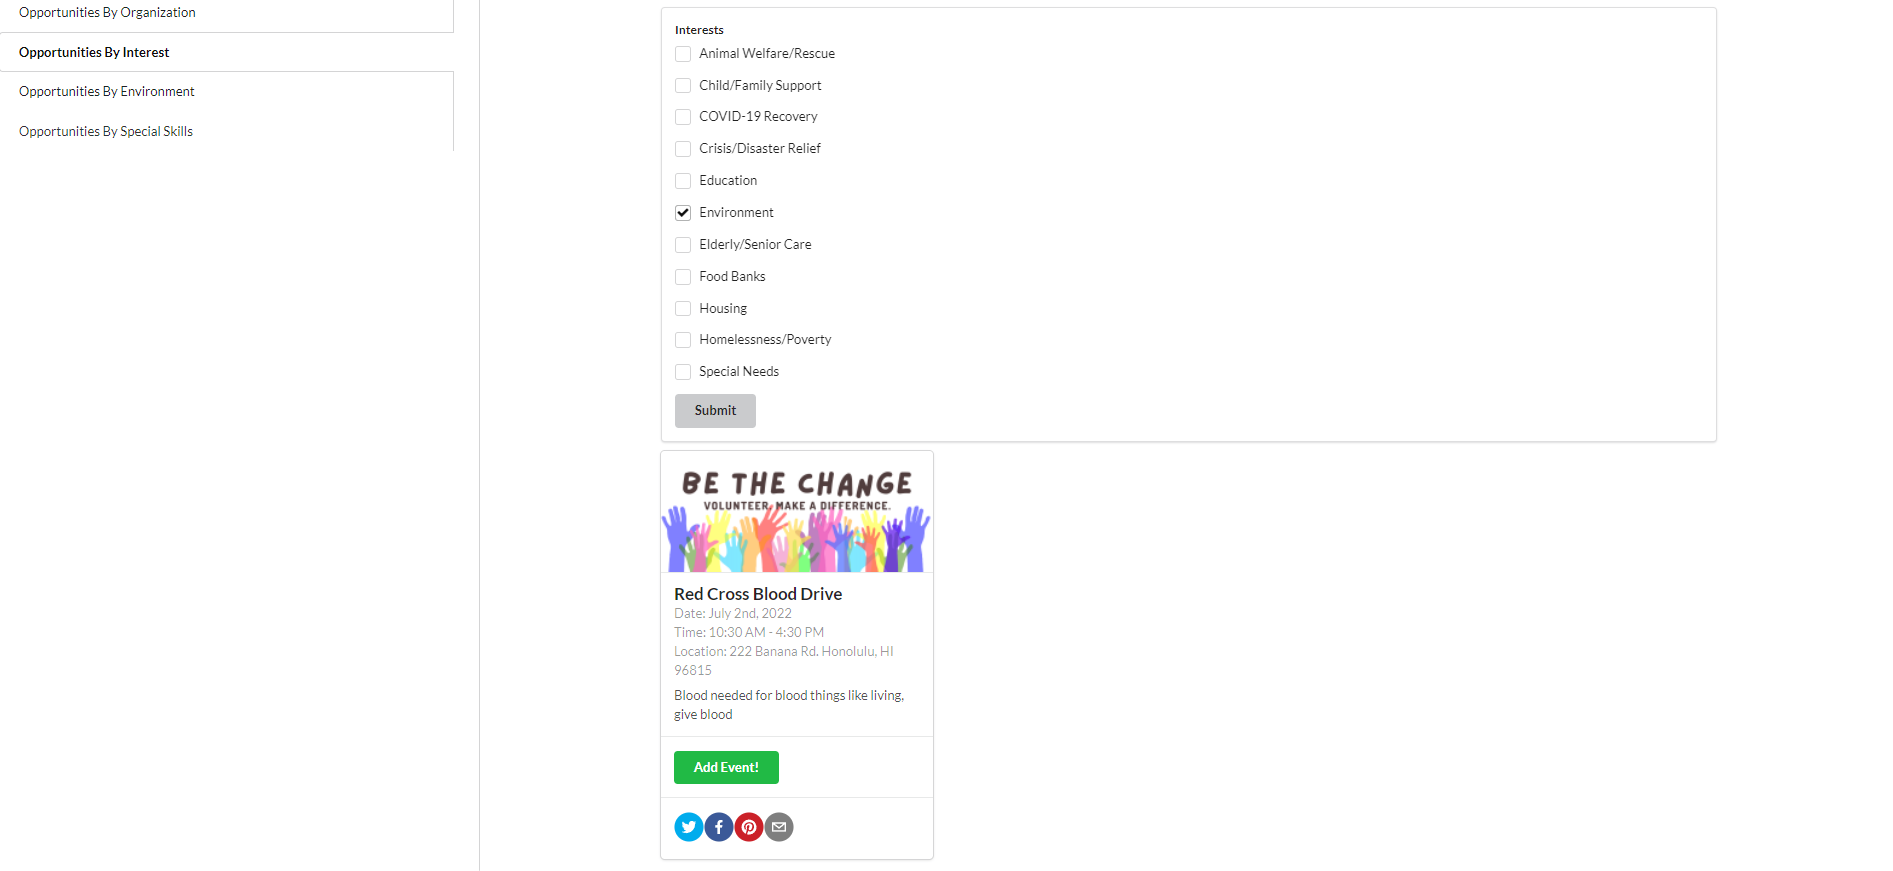
At any point an opportunity can be added or shared
Adding an Opportunity to the Volunteer Profile
jump to table of contents
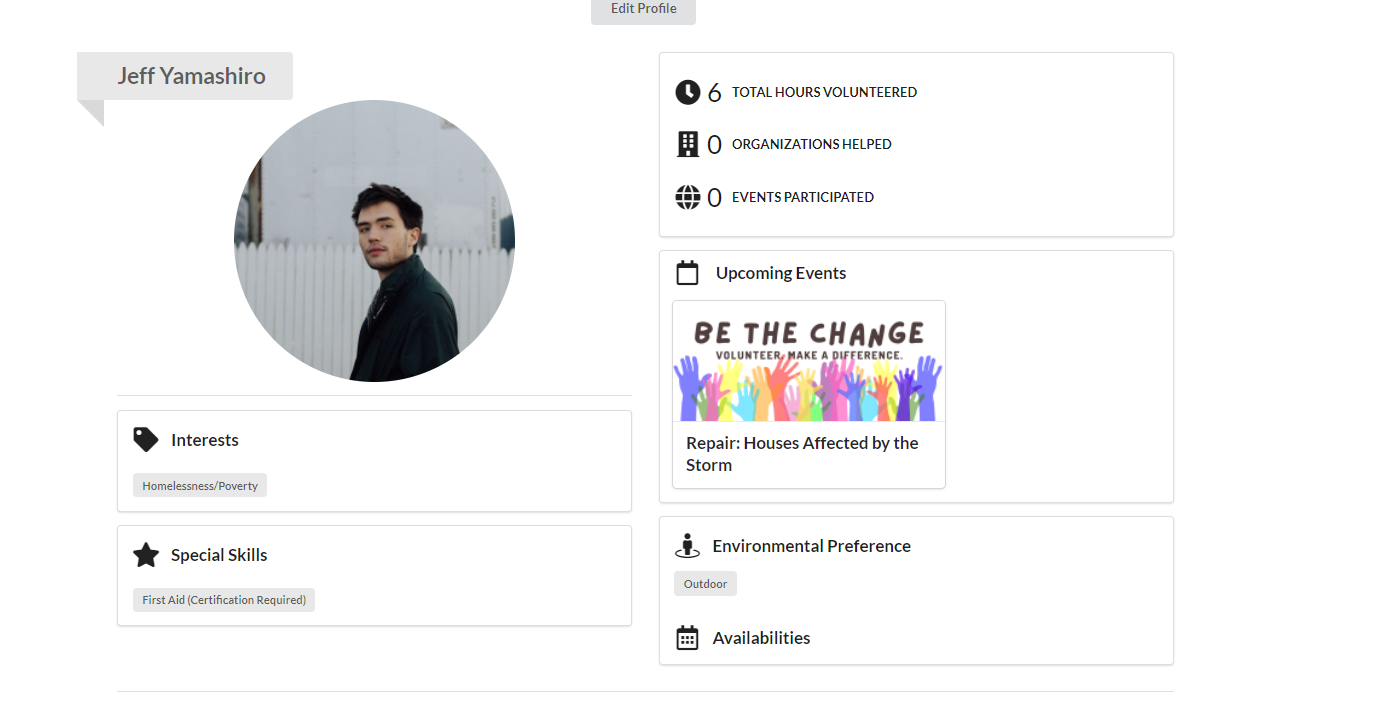
Opportunities can be added to the volunteer profile at any time, this allows the volunteer to keep track of upcoming opportunities and serve as a way to claim hours if the opportunity was attended (opportunities can only be added if a volunteer is logged in however all relevant opportunity information can be viewed by anyone as to promote views of an opportunity). For example, Jeff only plans on attending or is interesting in attending only one opportunity
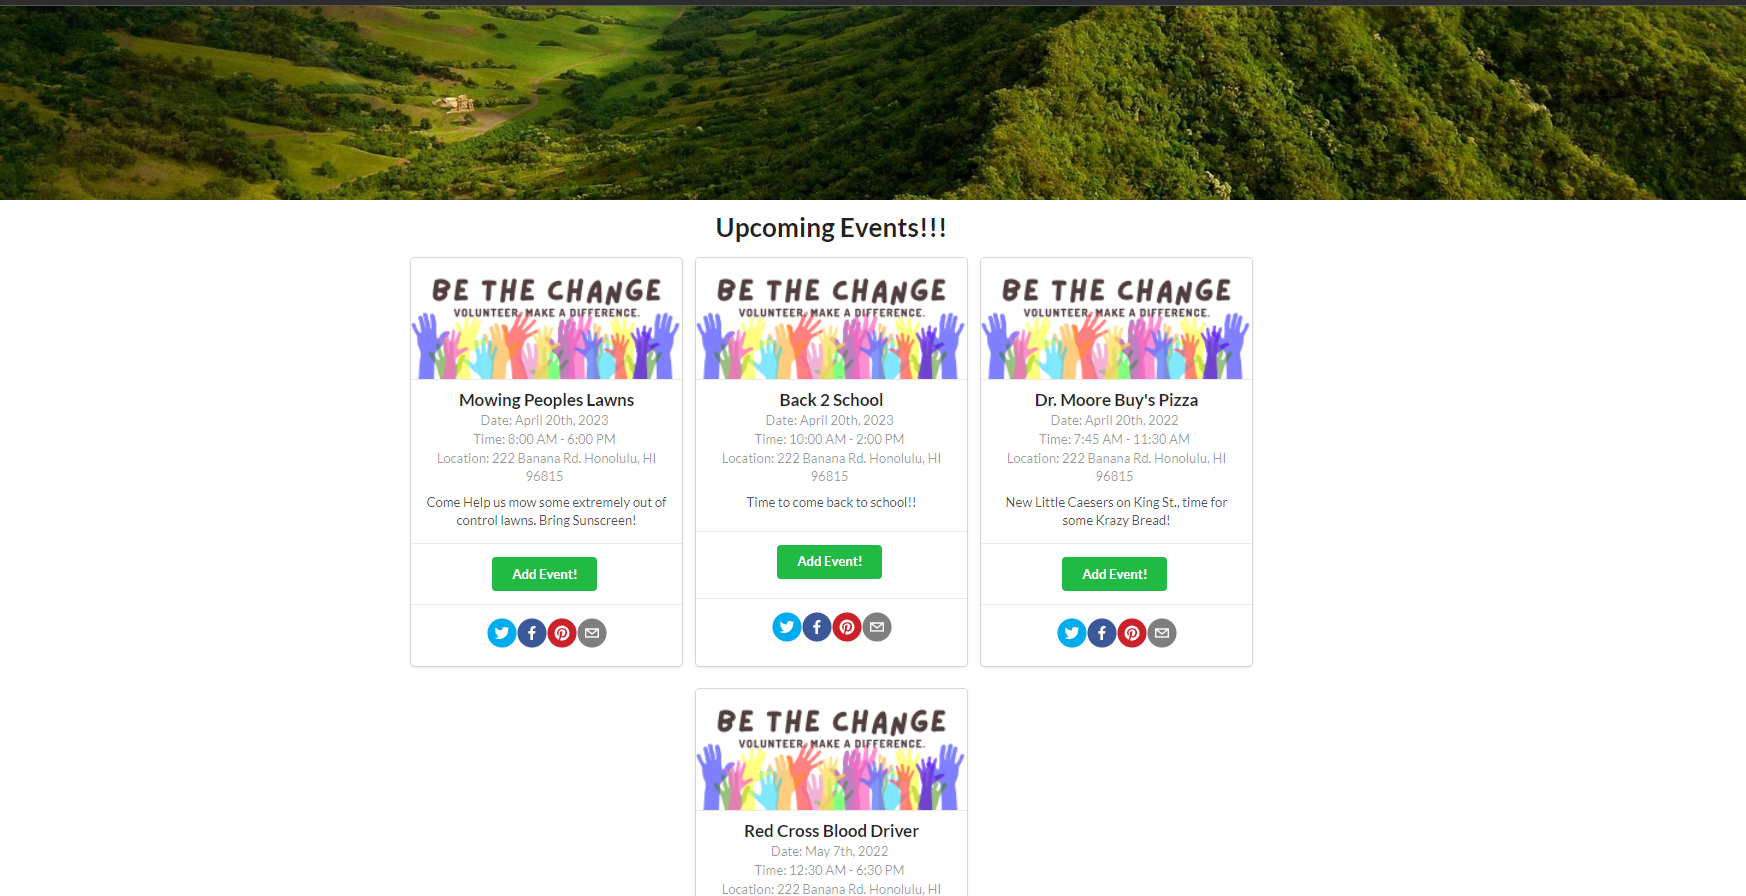
Adding opportunities can be done from any page, in this case the opportunity is added from the landing page
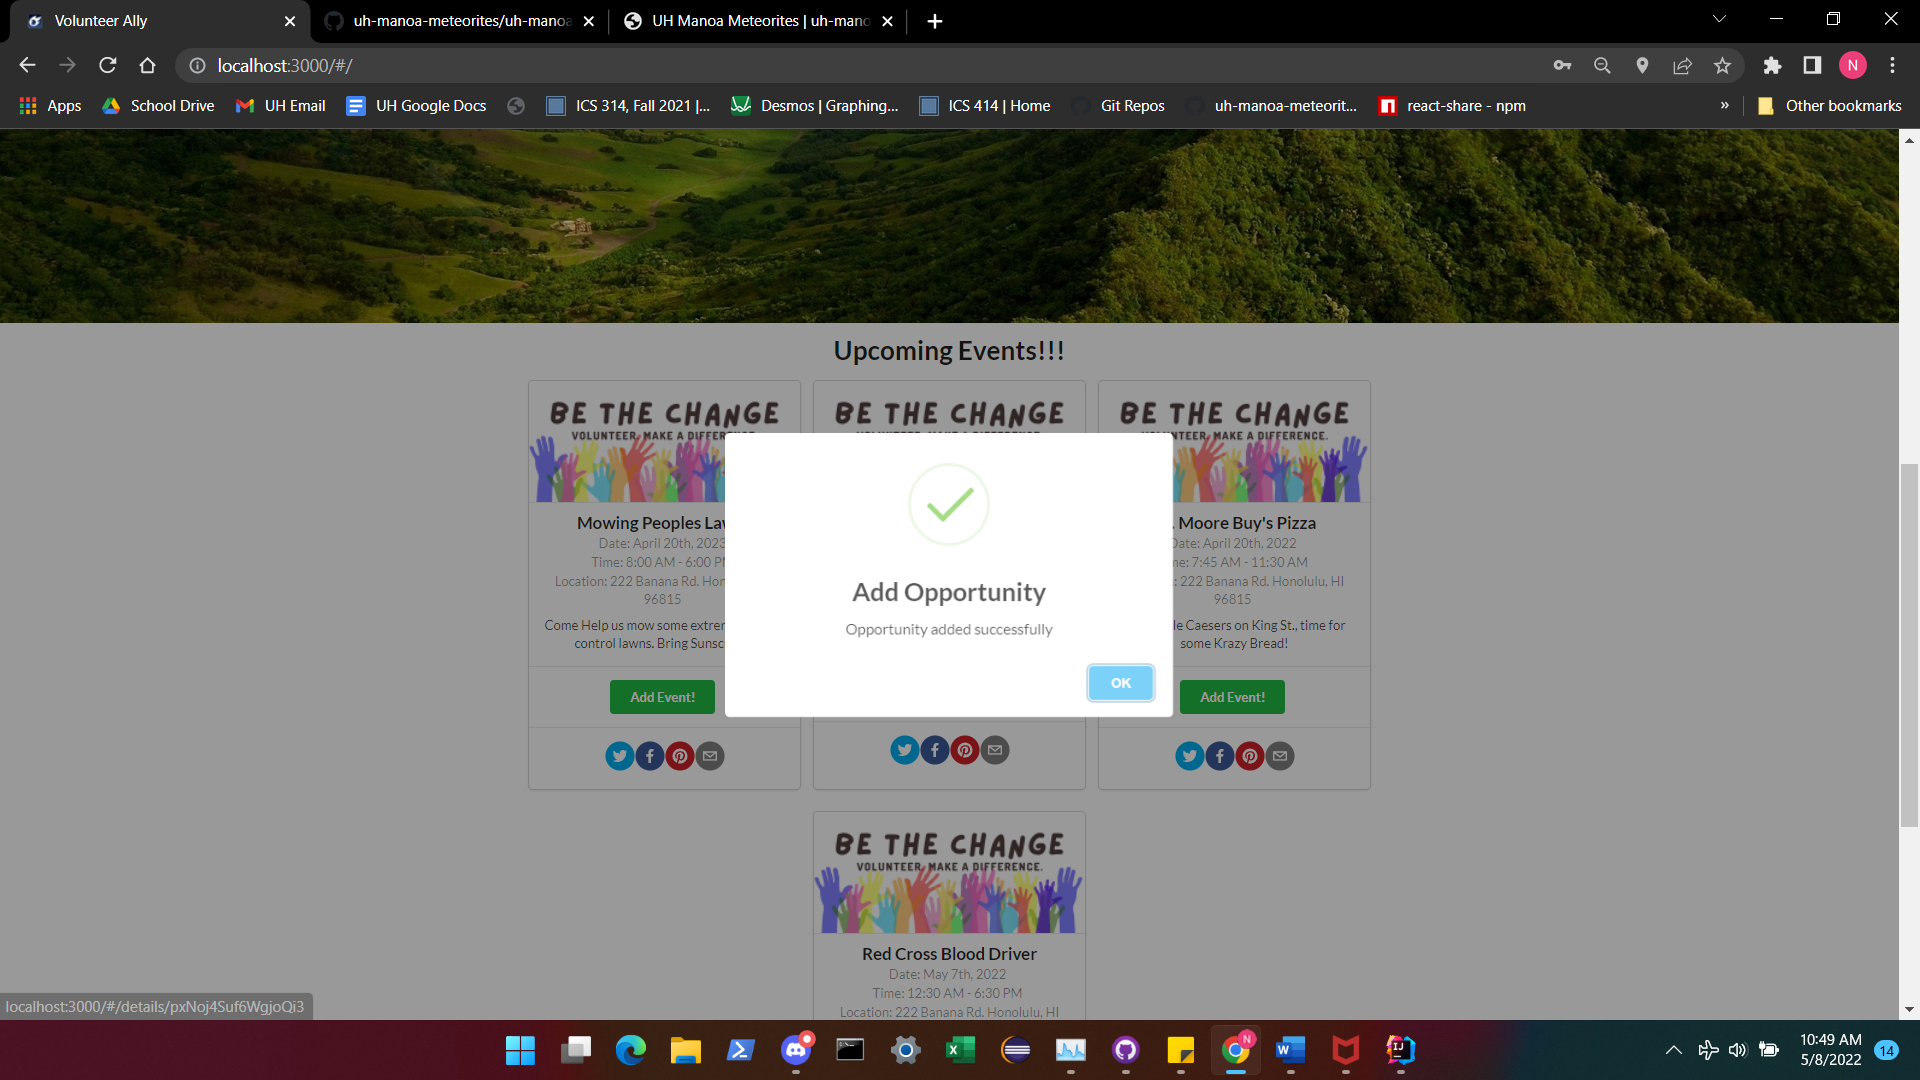
Adding the Back 2 School opportunity by clicking the Add Event button will display a success message
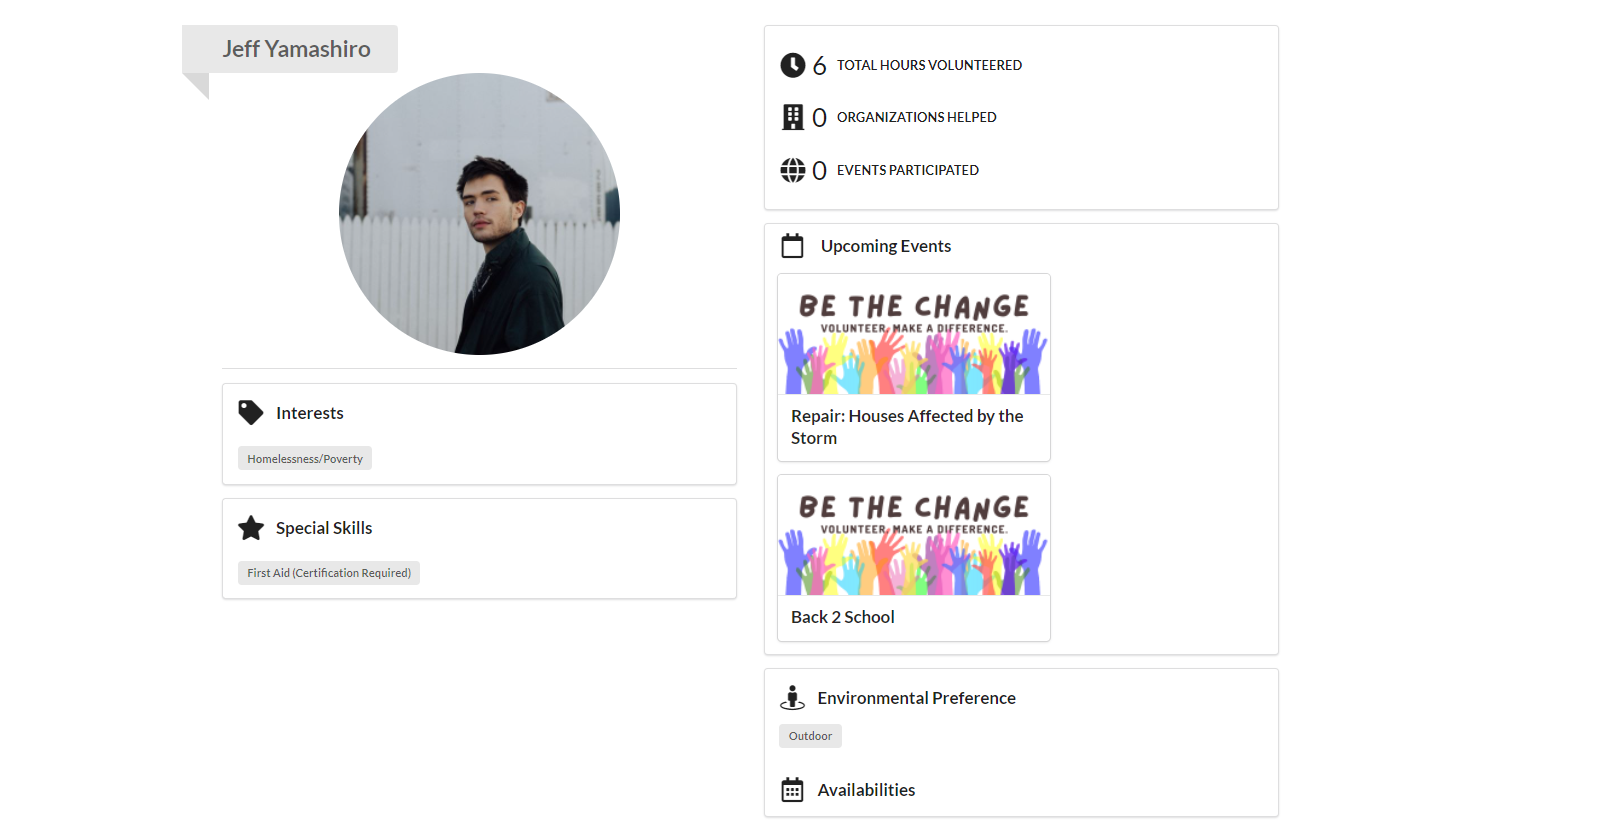
Now the opportunity is tracked on the volunteer’s profile like for Jeff
Jeff can now click on an opportunity to see and communicate information about it by clicking a card (this can be done from anywhere there is an opportunity card) and displaying the opportunity profile page
Sharing an Opportunity to Social Media
jump to table of contents
While logged in, a volunteer may share an opportunity to Facebook, Twitter, Email or Pinterest by clicking on the associated icon on an opportunity card
![]()
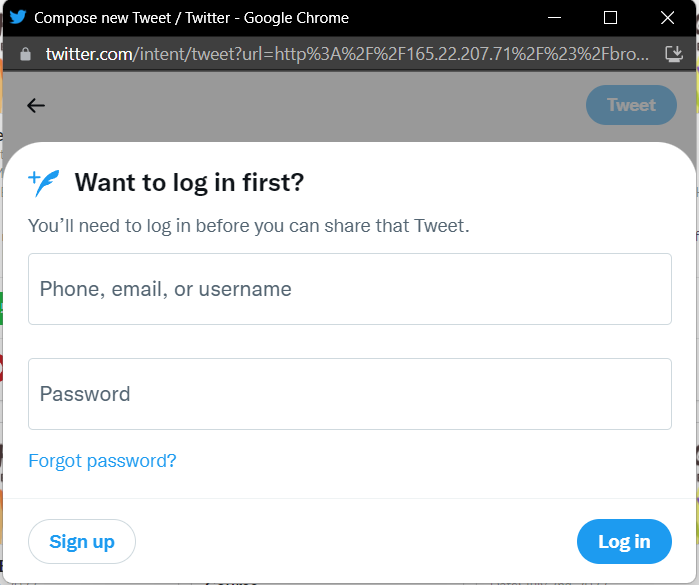
Clicking on the twitter icon, for example, will open a pop-up window prompting logging in to the twitter (facebook/pinterest/email) before sharing the opportunity on the associated social media page
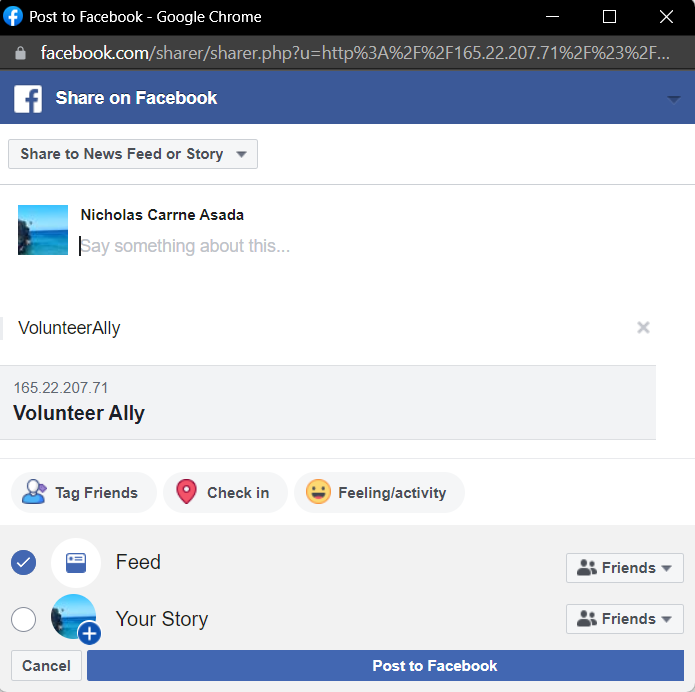
Or sharing to facebook
A link to the opportunity profile page will be seen on the associated social media page
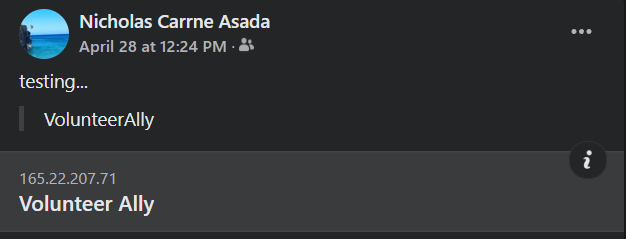
Once again, click the link to see further information regarding the opportunity
Opportunity Profile Page
jump to table of contents
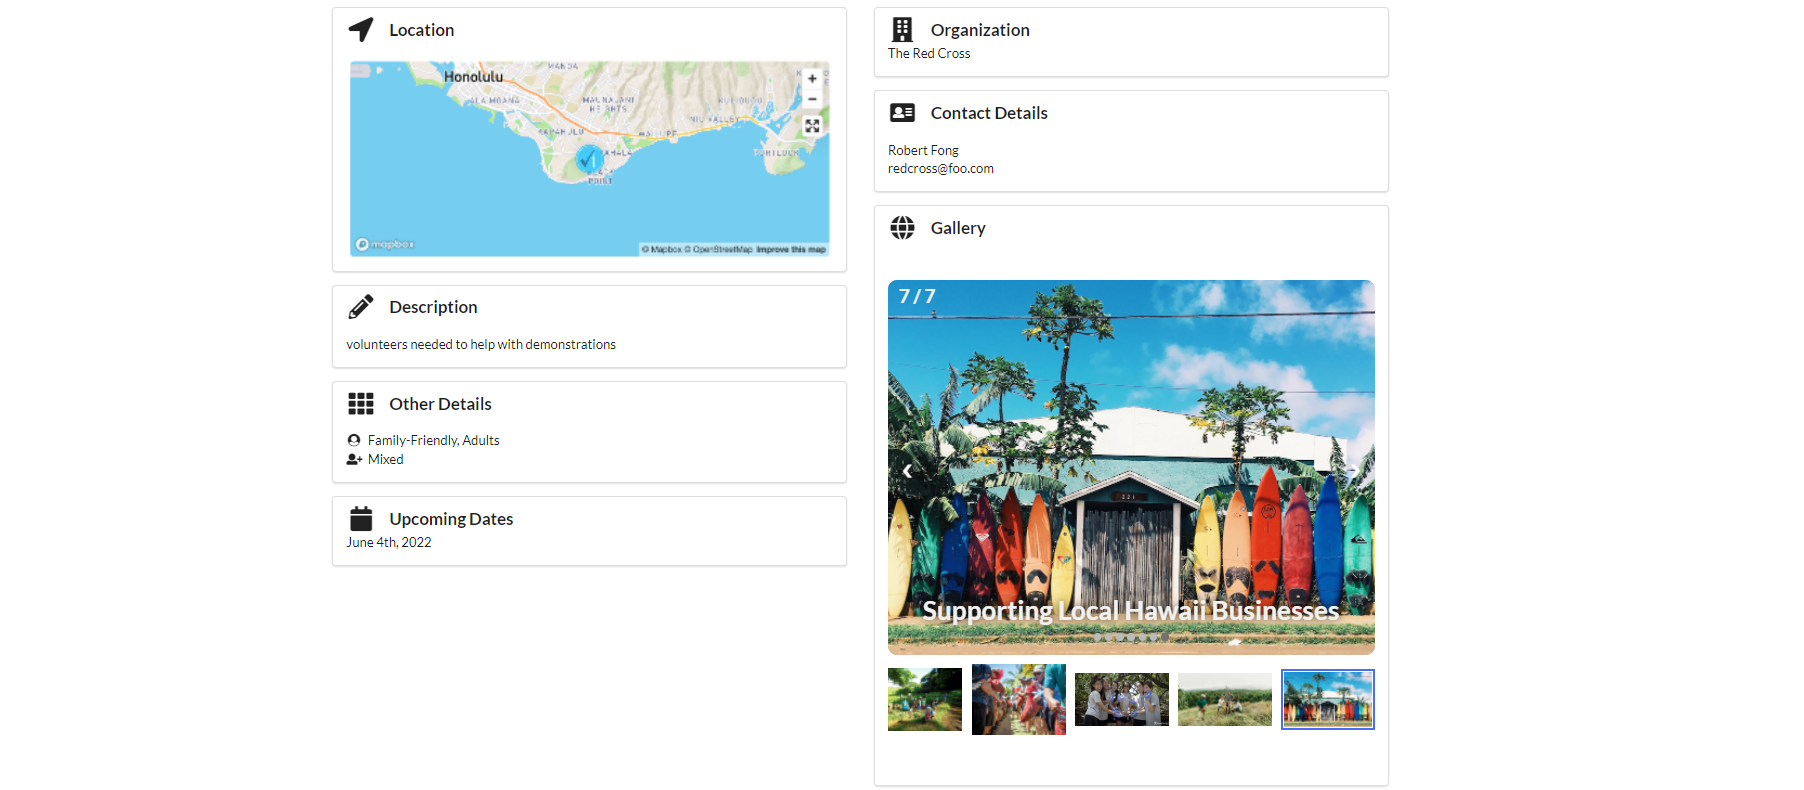
The opportunity profile page displays relevant information deemed necessary by an organization administrator that creates the opportunity creates opportunities on behalf of the organization. The opportunity profile has a customizable banner (only when logged in as an organization), a directions button, a direct messaging button, and a send email button
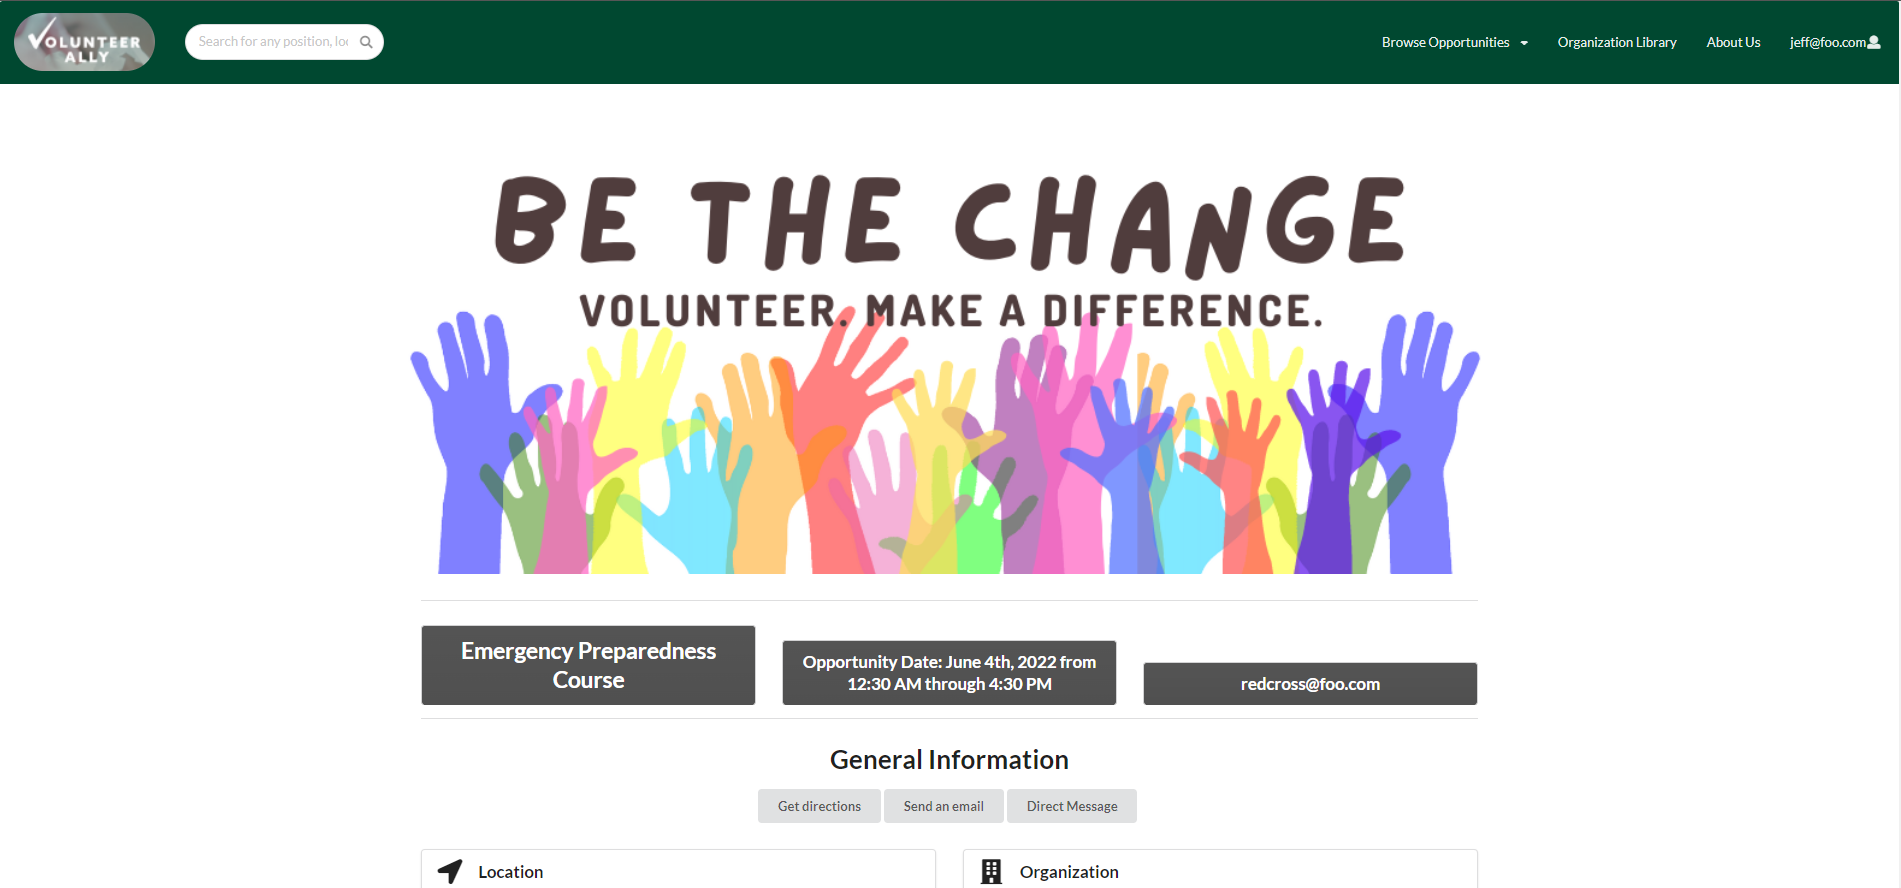
More relevant information along with an organization specific photo gallery component
Lastly, the relevant interest, desired special skills and environmental atmosphere
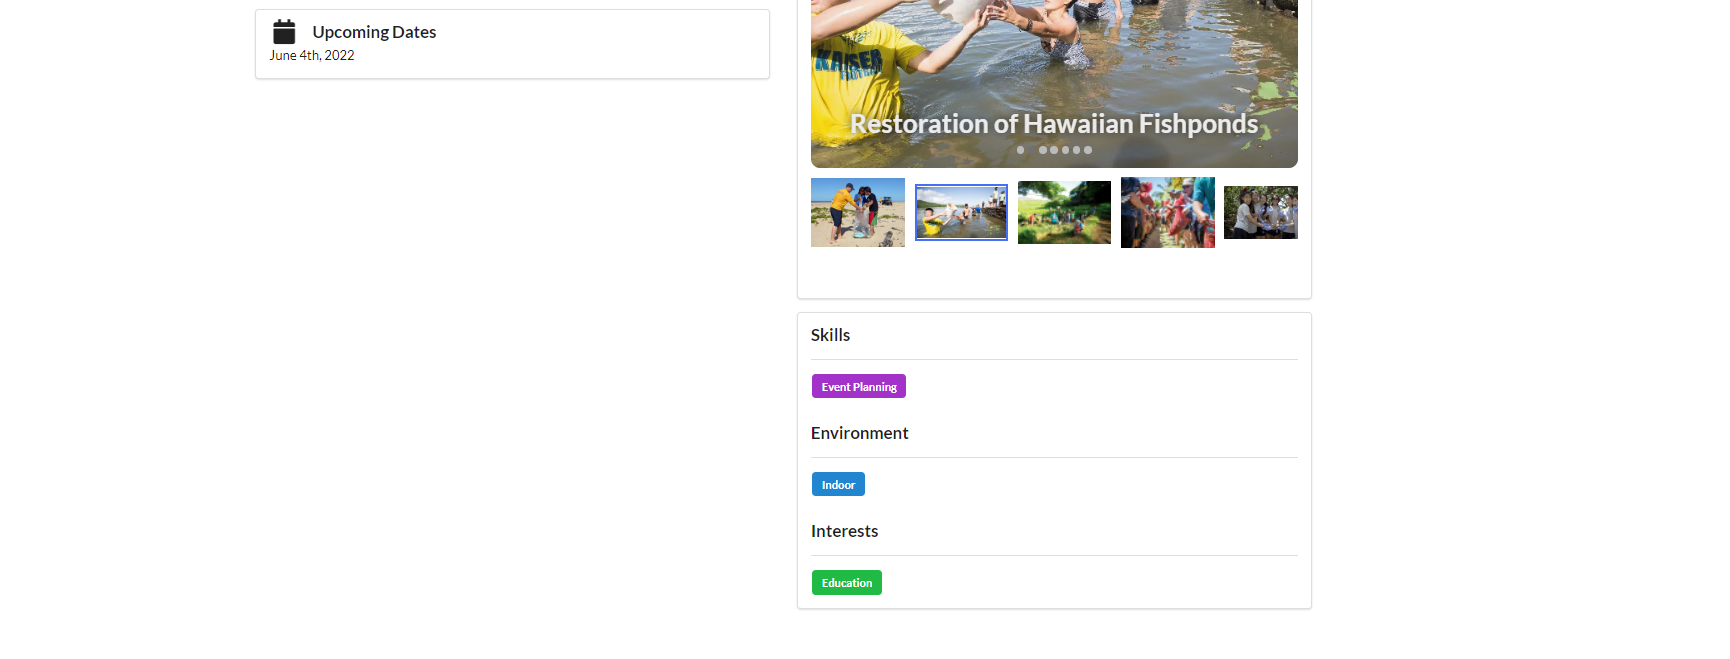
The opportunity profile page can be modified by a logged in organization representative
Send an Email
To send an email from the opportunity profile page, simply click send email located towards the top

Clicking the button displays the email page
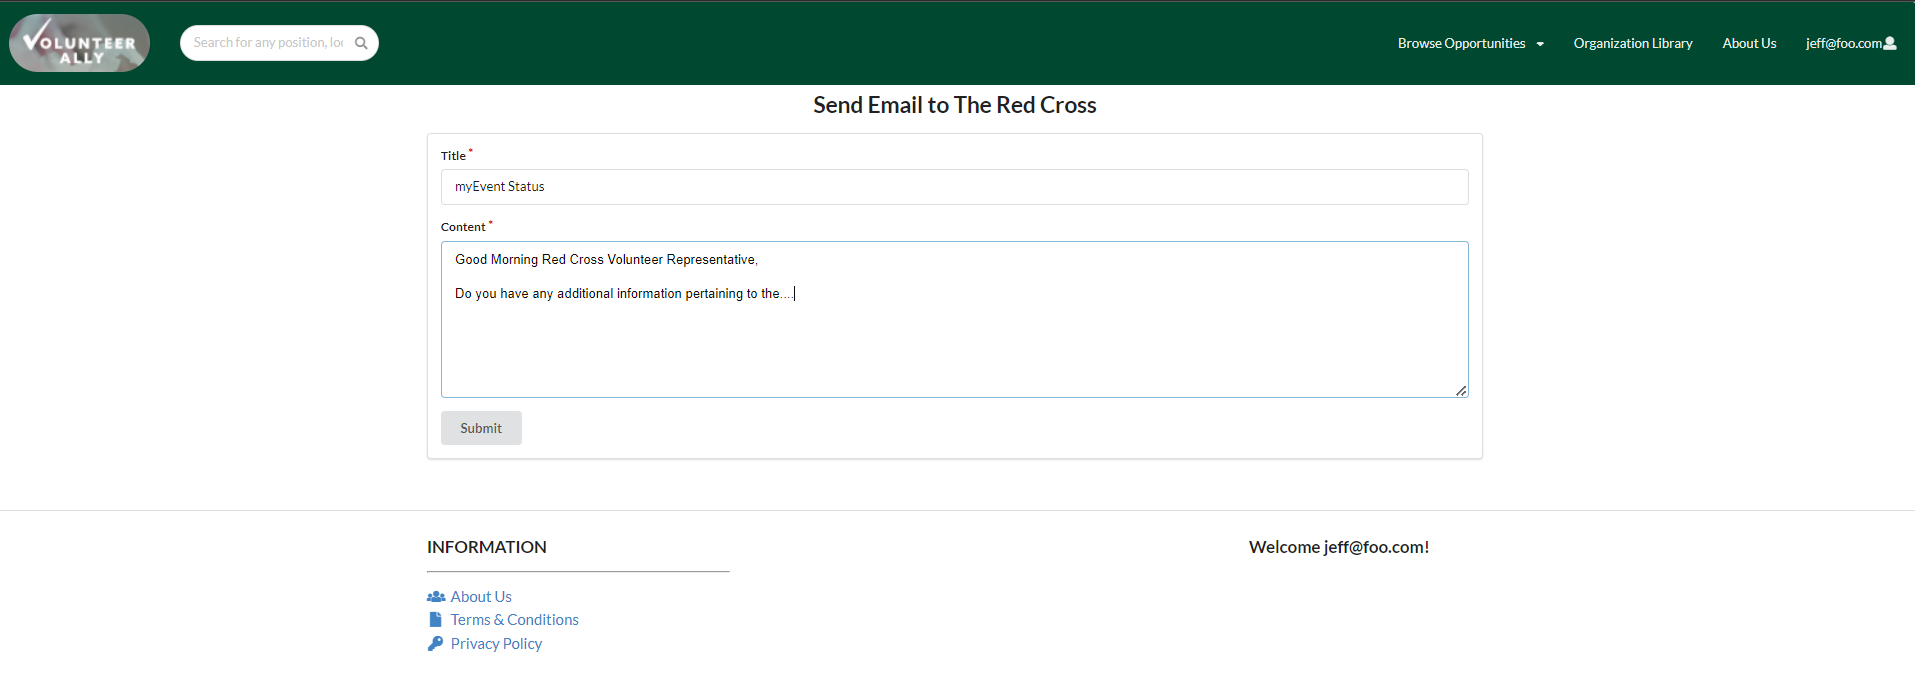
Clicking Submit will send the email queueing a pop up window to notify the volunteer it was delivered to the associated volunteer representative for the organization holding the opportunity
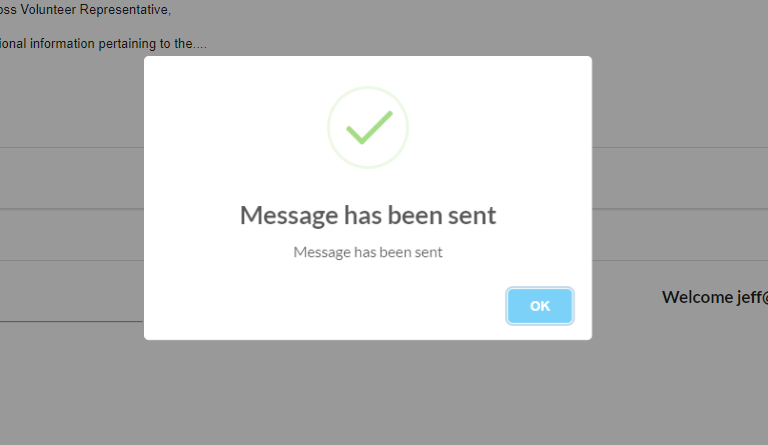
The volunteer may now continue navigation
Send Direct Message
Sending a direct message is similar to sending an email but the volunteer representive will read the message on the application inbox page instead of their email account. To send a “DM” simply click the Direct Message button

Clicking the Direct Message button will display a direct message pop up box
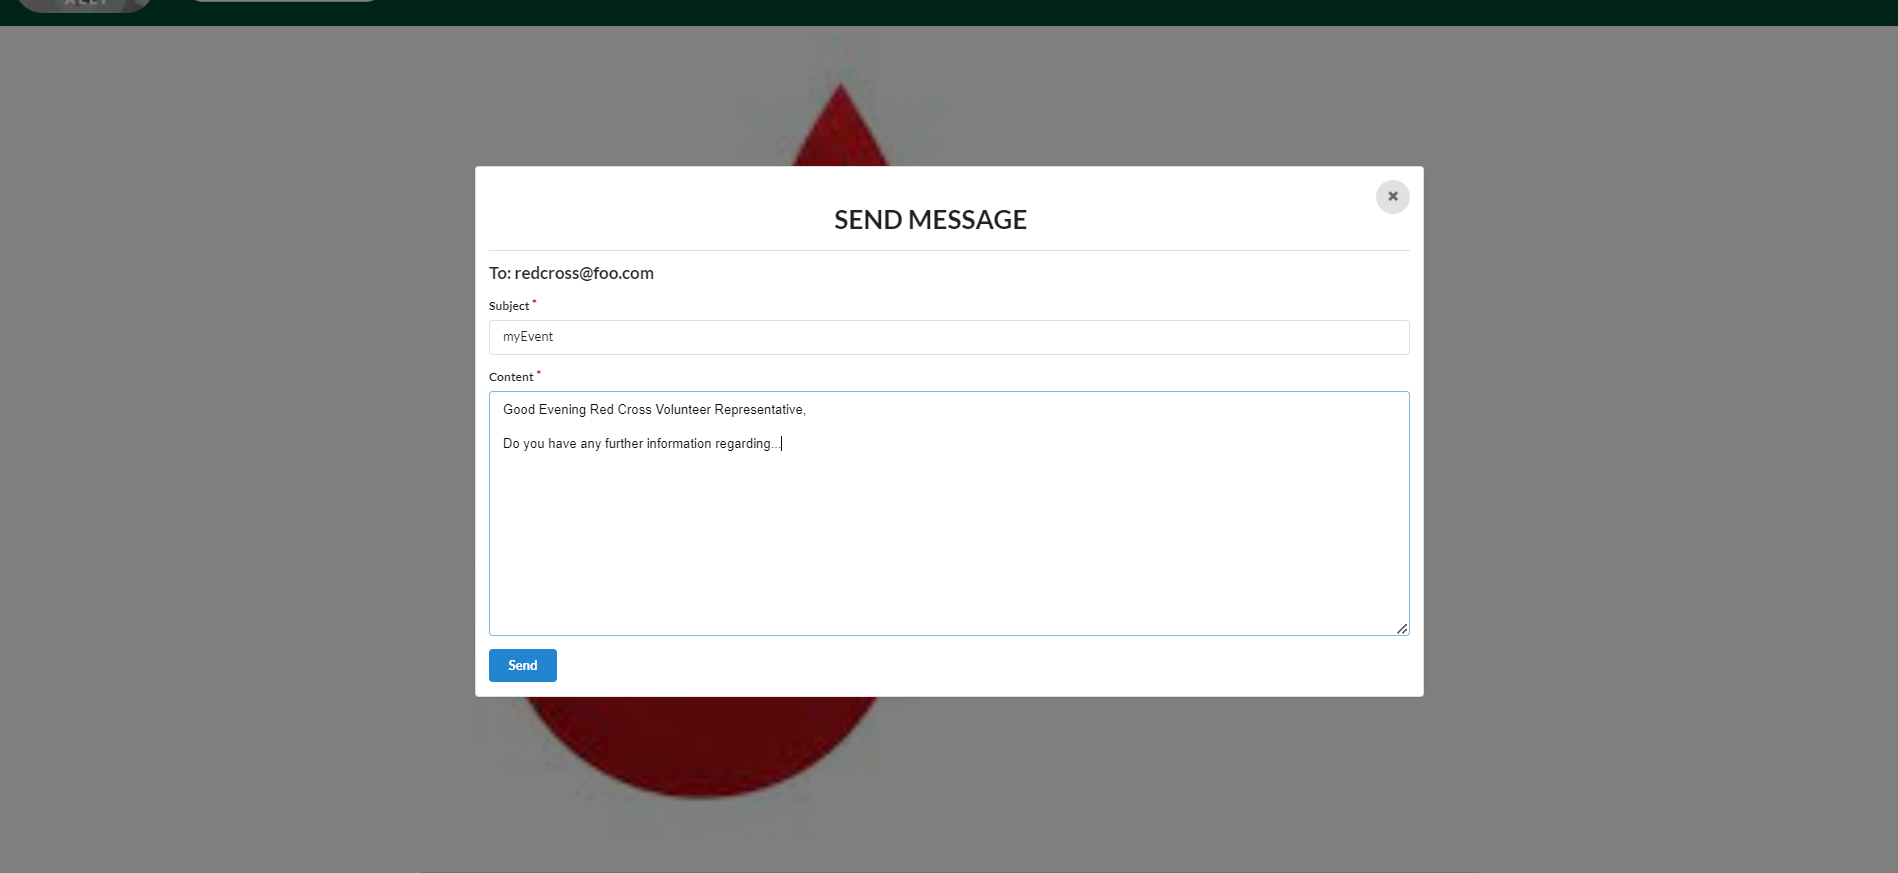
Clicking send will display a message that the message sent, if successful
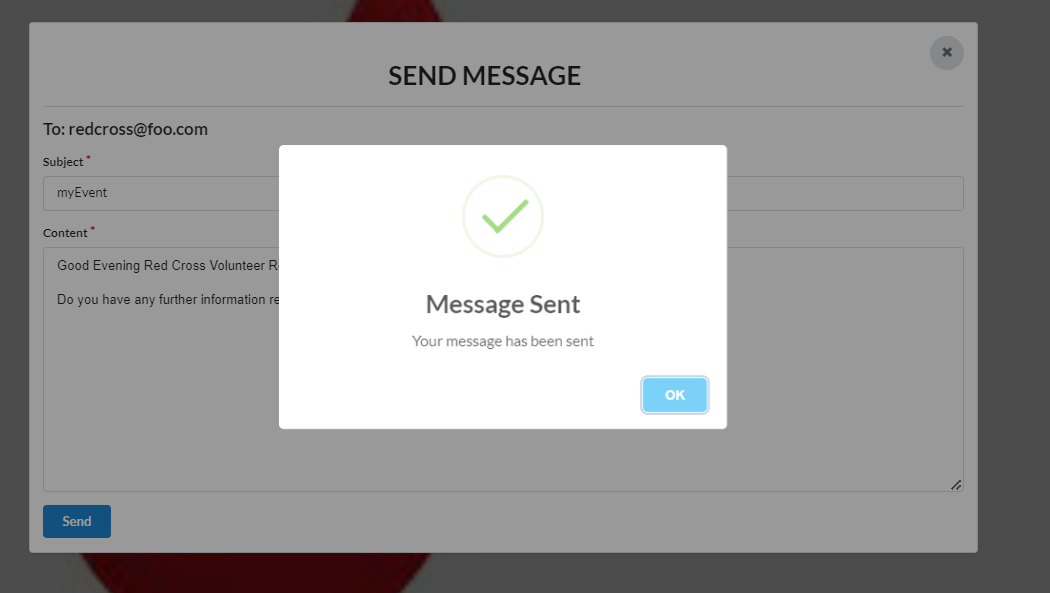
The message can no be seen in the direct message inbox page of the associated organization to view upon their next login
Get Directions
Clicking the Get Direction button on the event profile will pop up a map window allowing for location view and directions to the opportunity address via google maps

Clicking the Get Directions button will display this pop up window
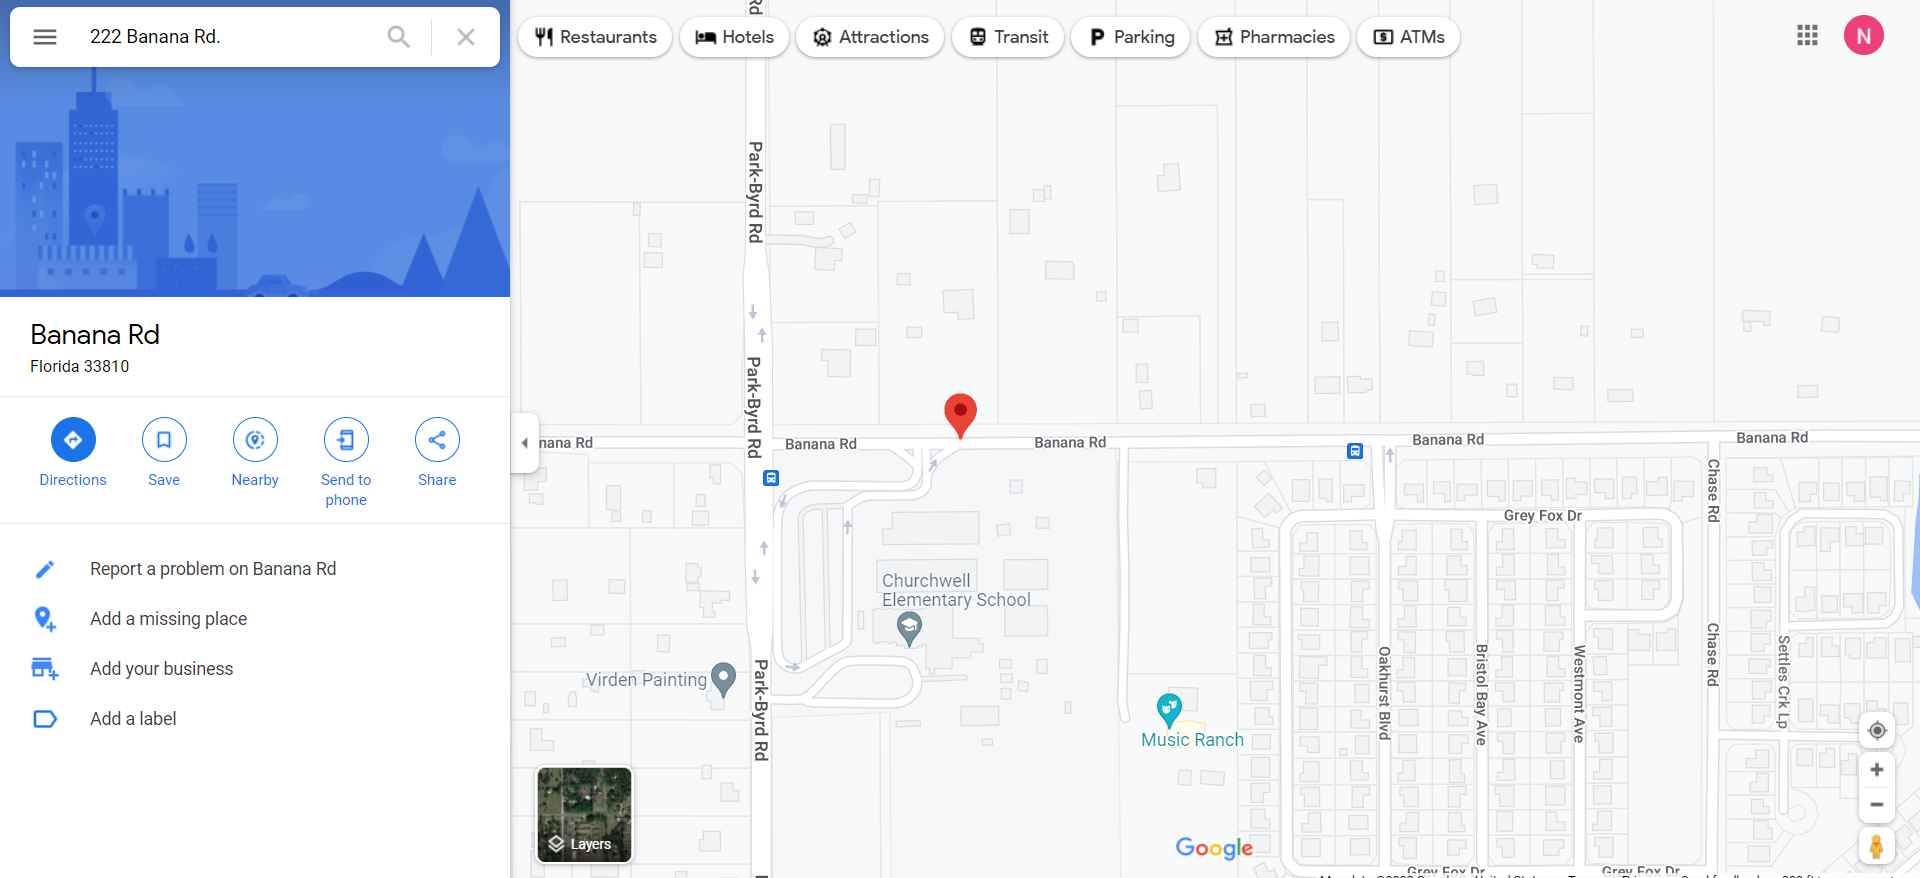
This particular opportunity has an address of 222 Banana Rd. Florida
Organization Profile Page
jump to table of contents
The organization profile is similar to the volunteer profile except for that it is visible to not only registered volunteers but general application traffic as well. The organization profile can be reached by using the organization library. First click the organization library button on the navigation bar
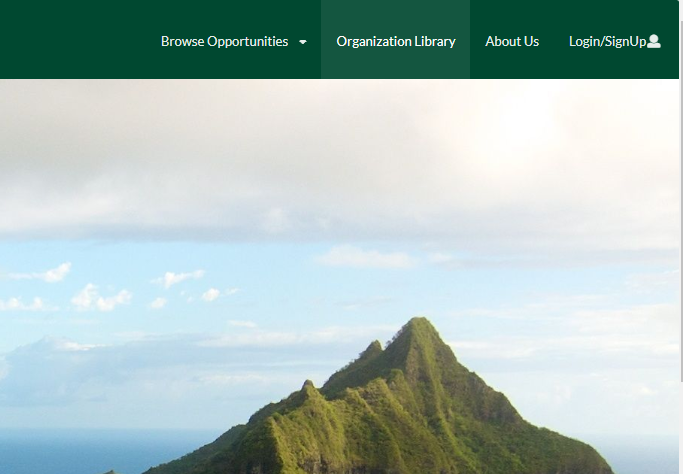
Then any organization can be clicked from this point to display all the relevant organization and opportunities they have
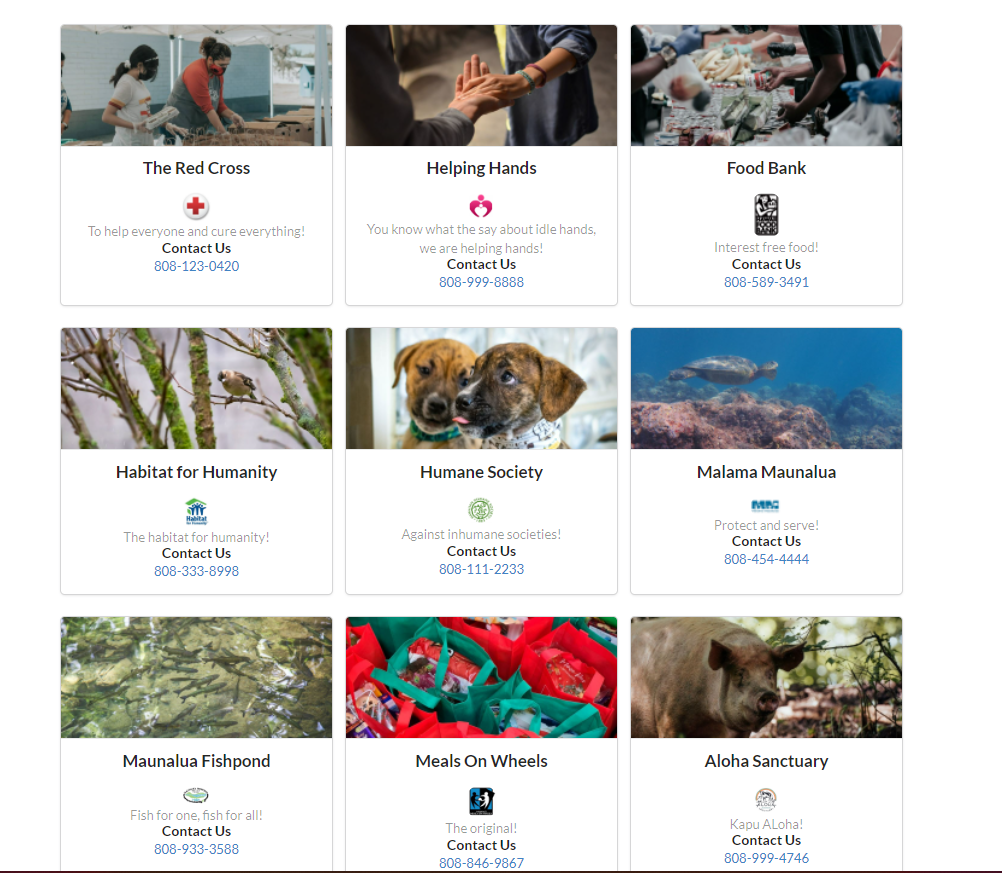
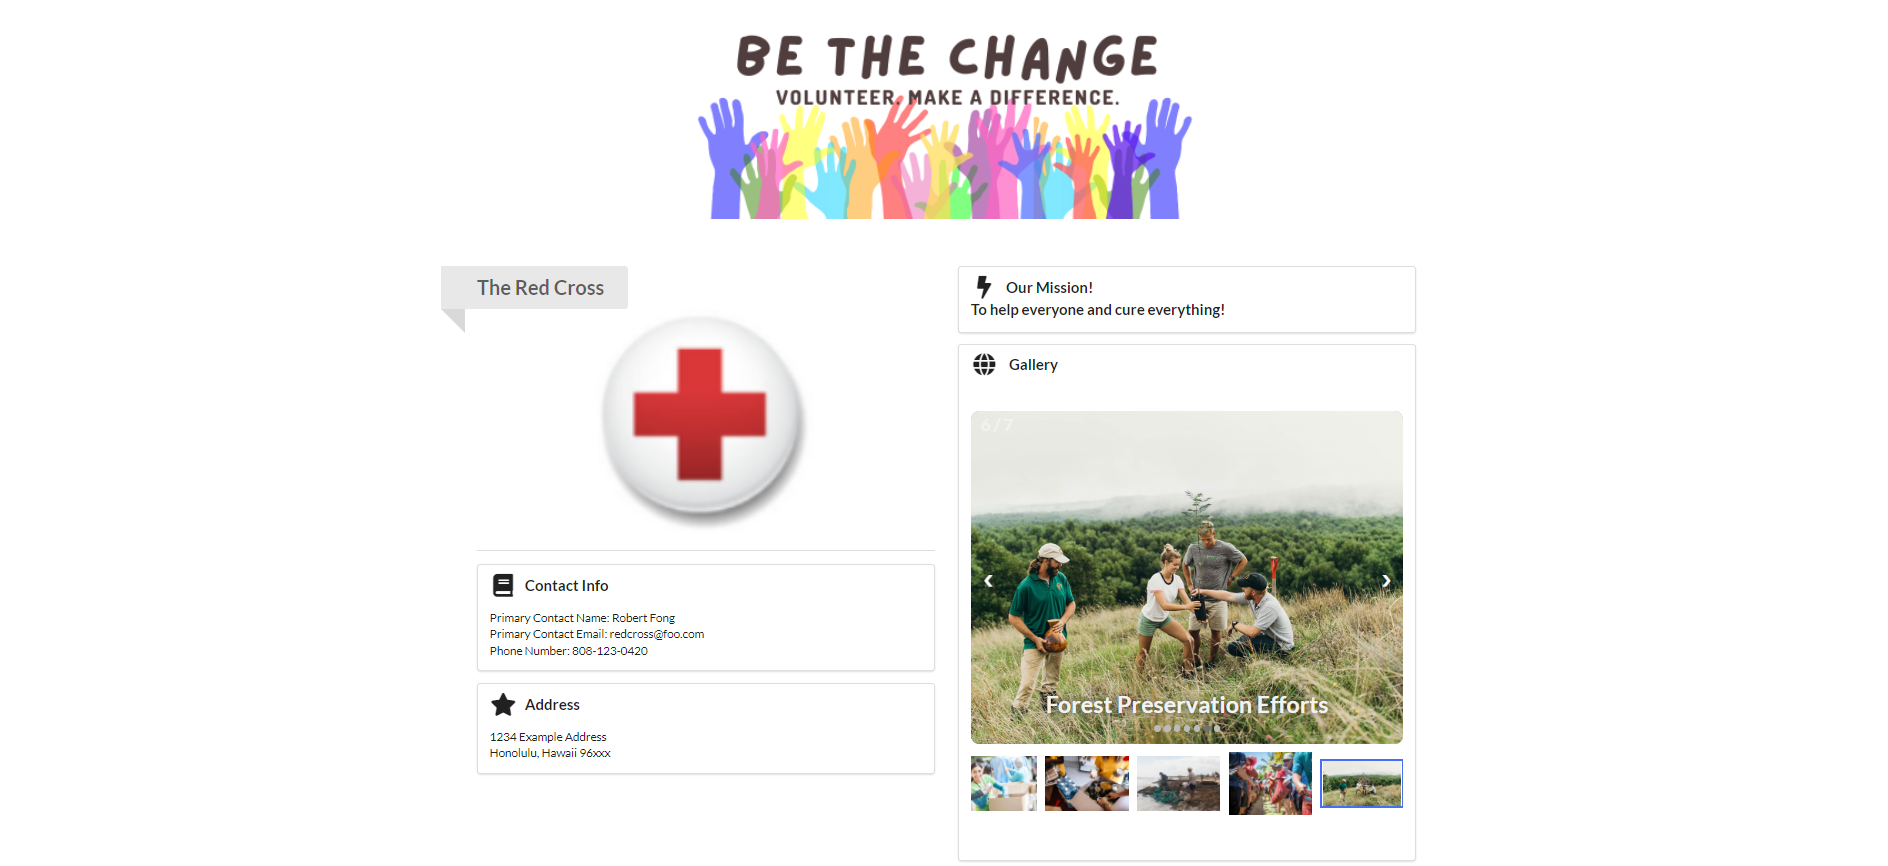
Clicking on the Red Cross opens there profile page
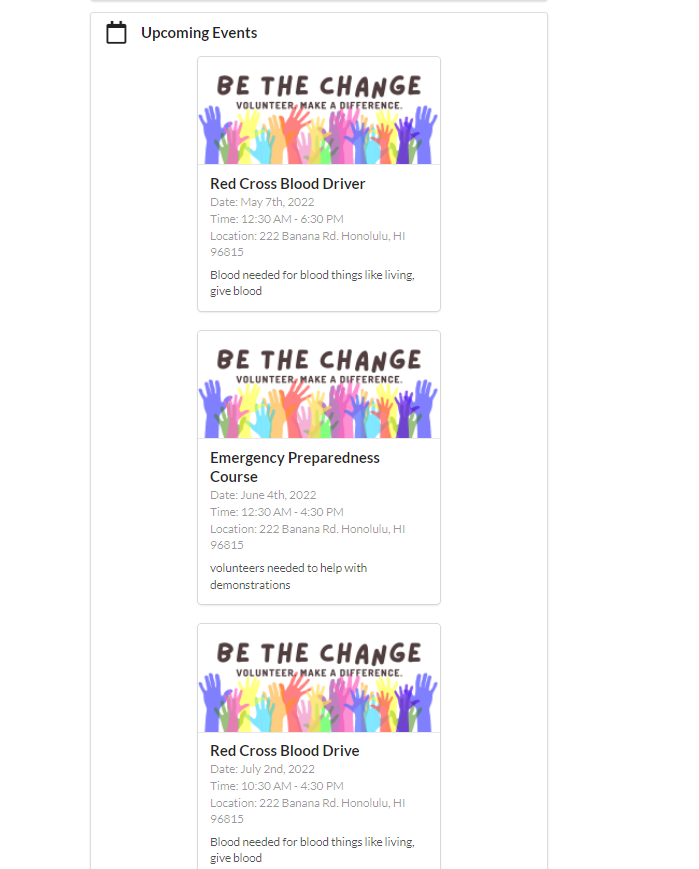
And some of the upcoming events
The organization profile can be expanded and the email/dm option can easily be moved to the organization profile as well
About Us Page
The about us page is information pertaining to the founders of Volunteer Ally and information on their goals
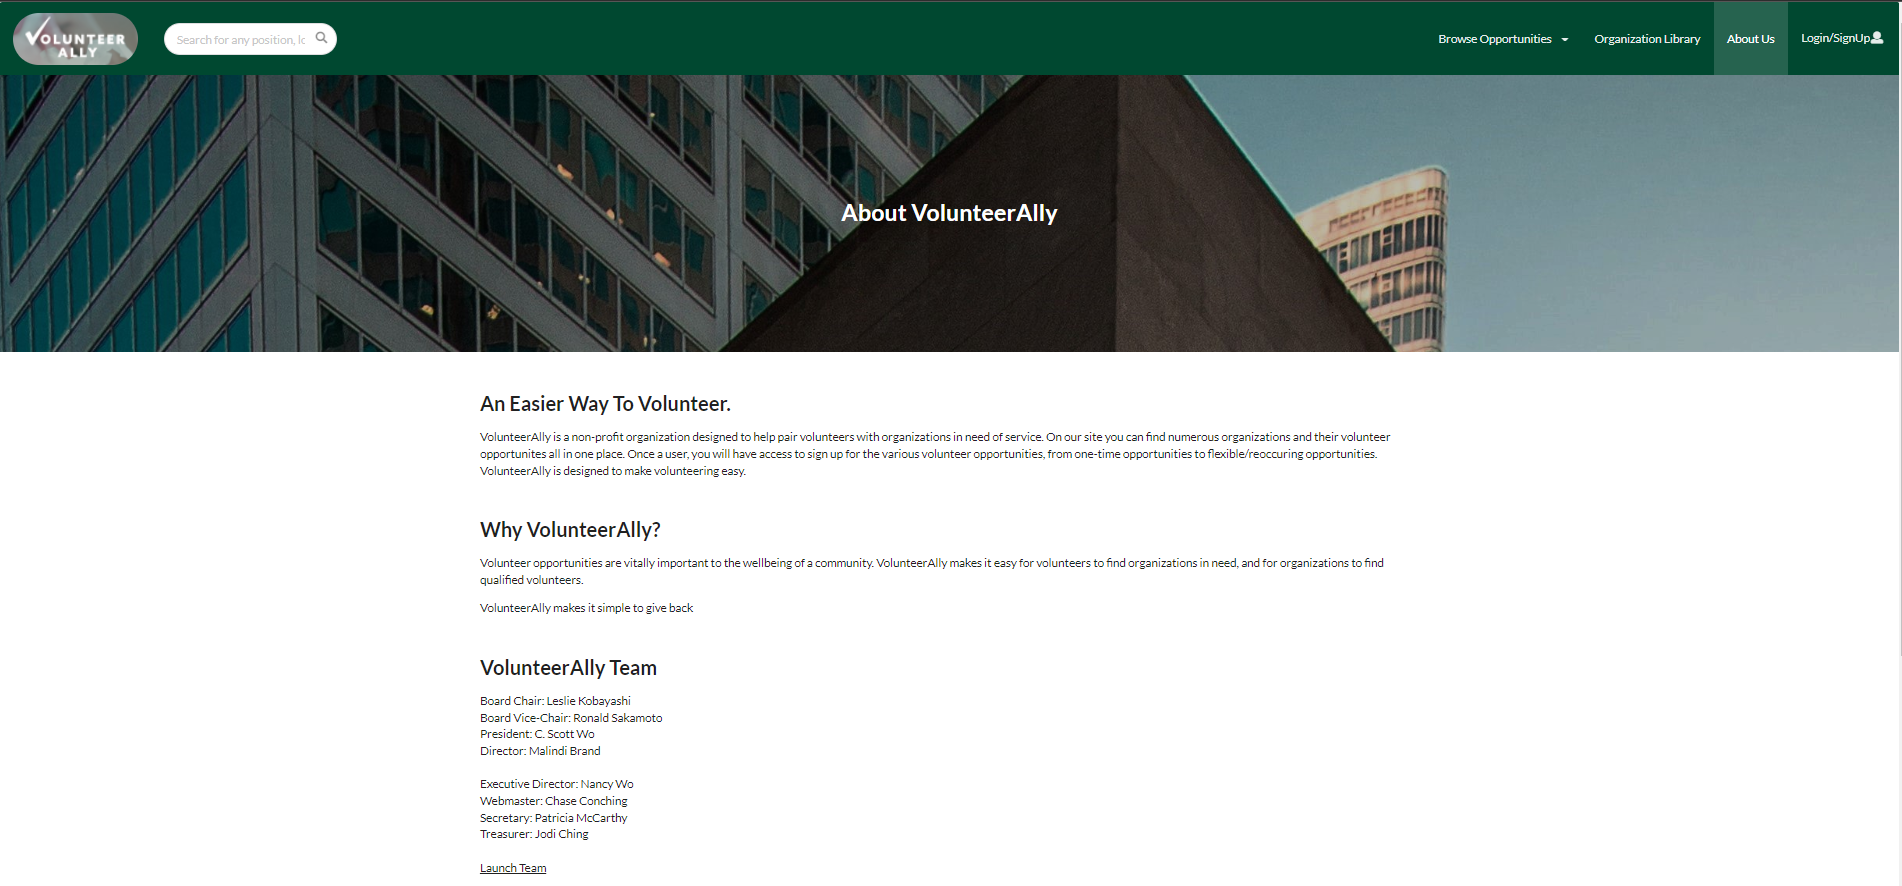
Simple, yet refined…
Organization Sign Up
The organization signup is only accessible from the admin user by request of the client. After filling in the relevant information, the organization is registered in the database and has a login that can be used to create opportunities.
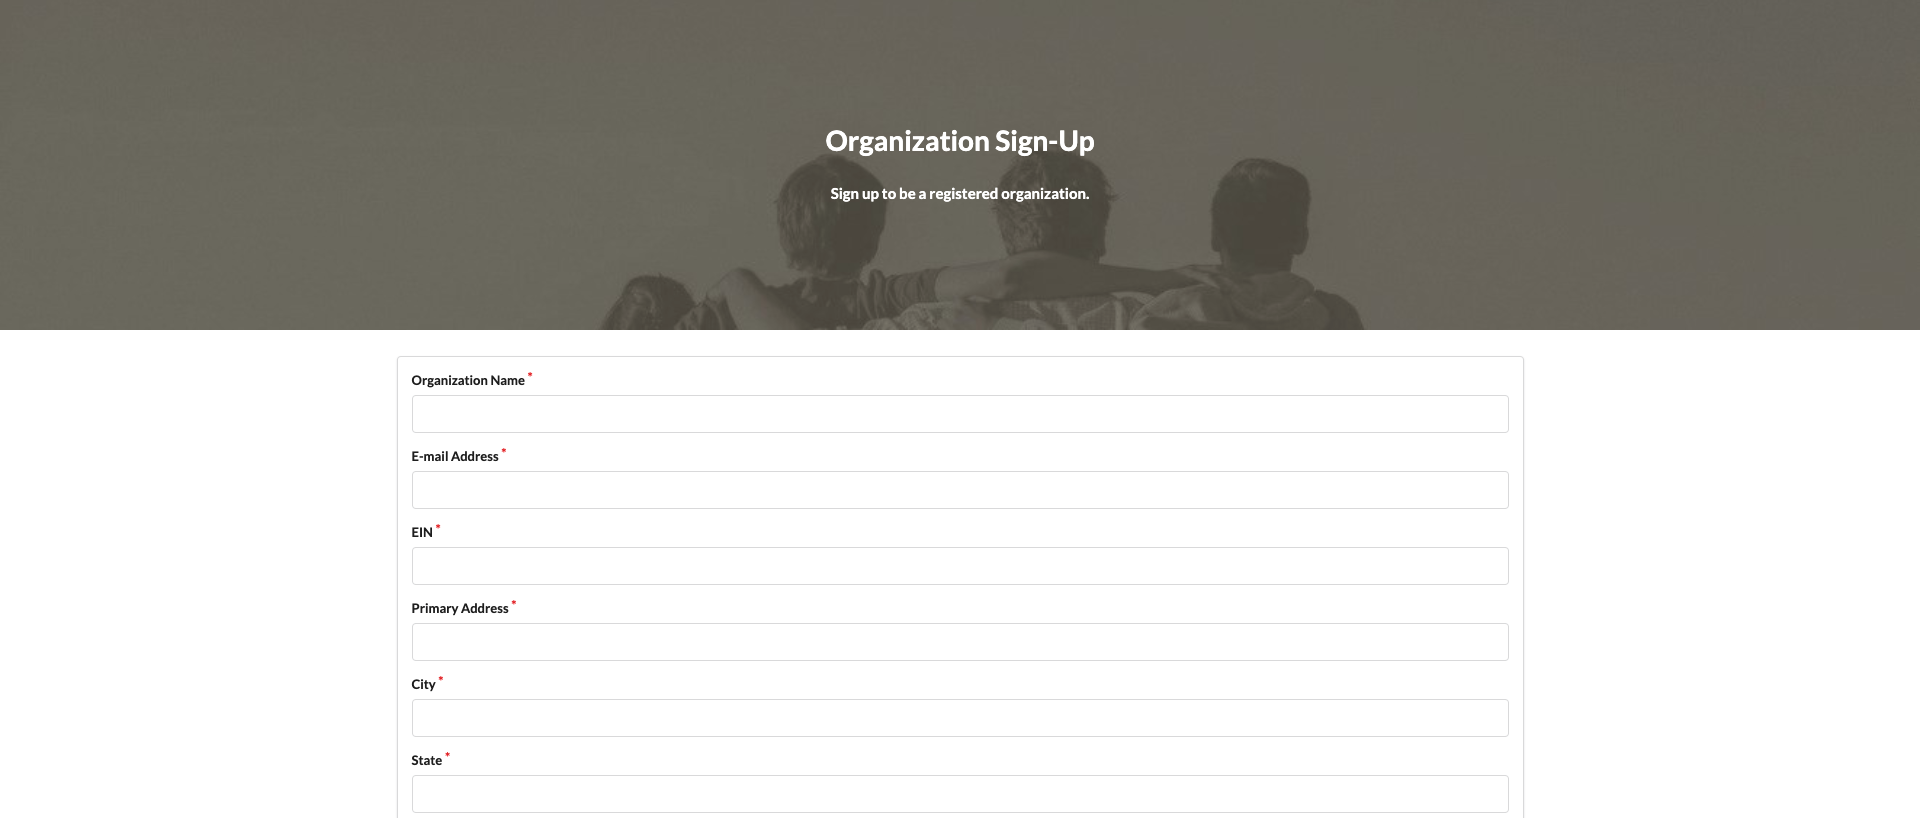
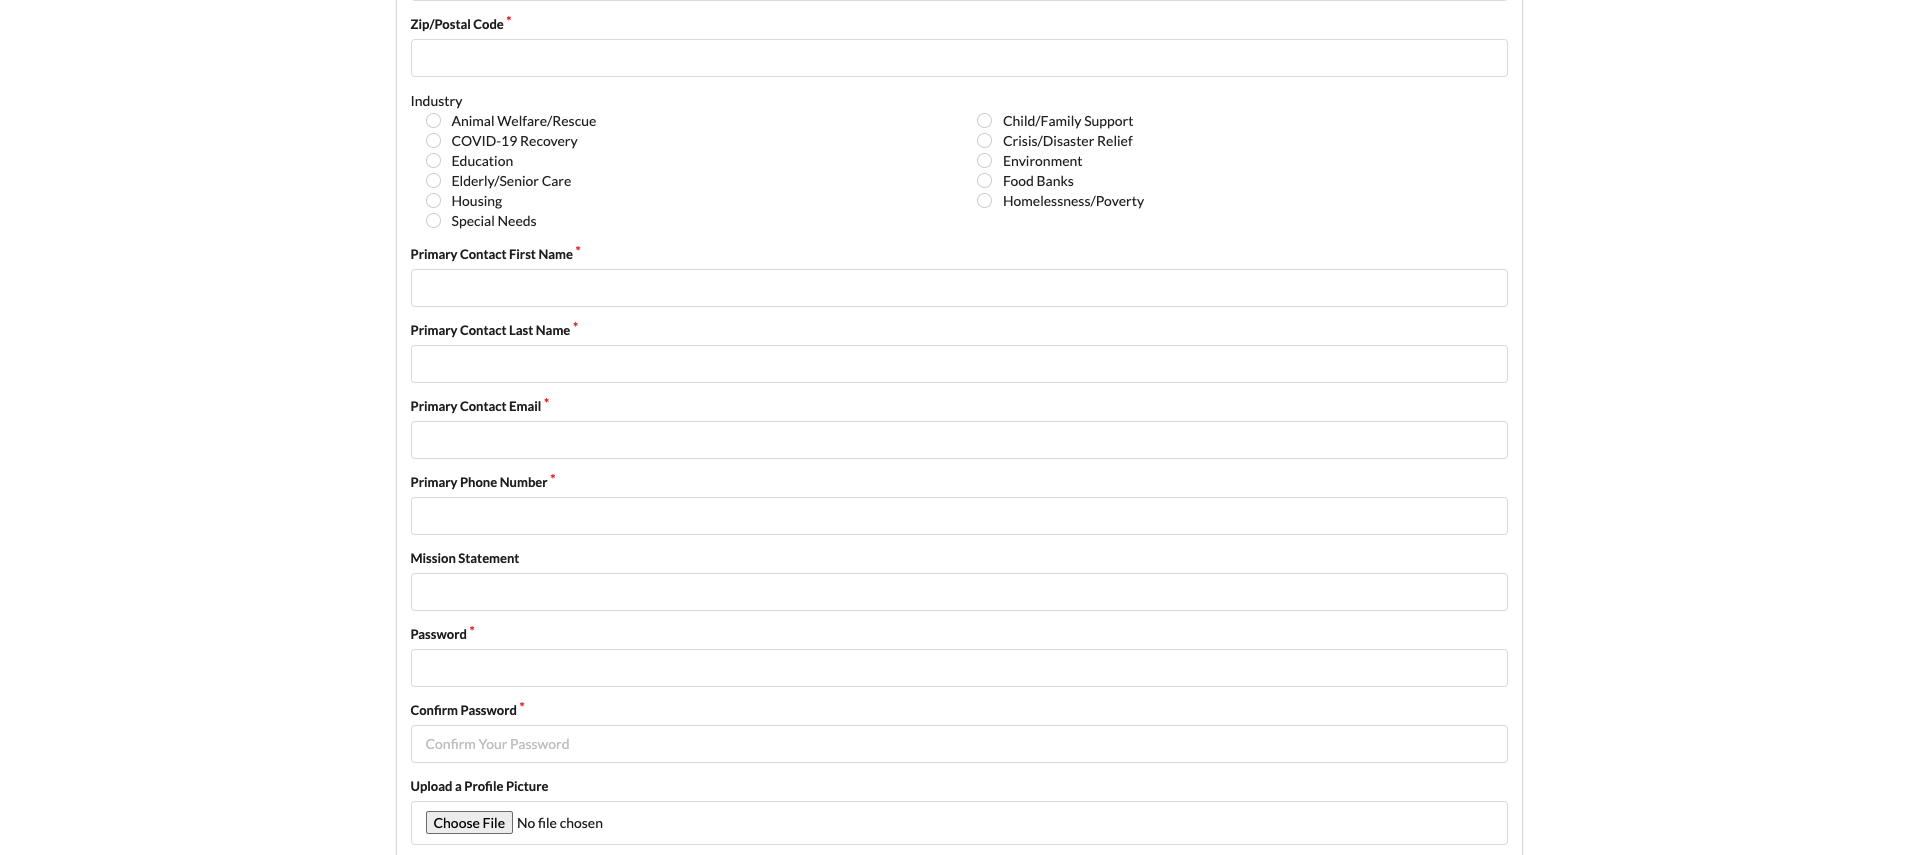

Add Opportunity
The add opportunity page is only accessible from the organization user by pressing “Add Opportunity” in the Navigation Bar. After filling in the relevant information, the opportunity is registered in the database and users can sign up to them.
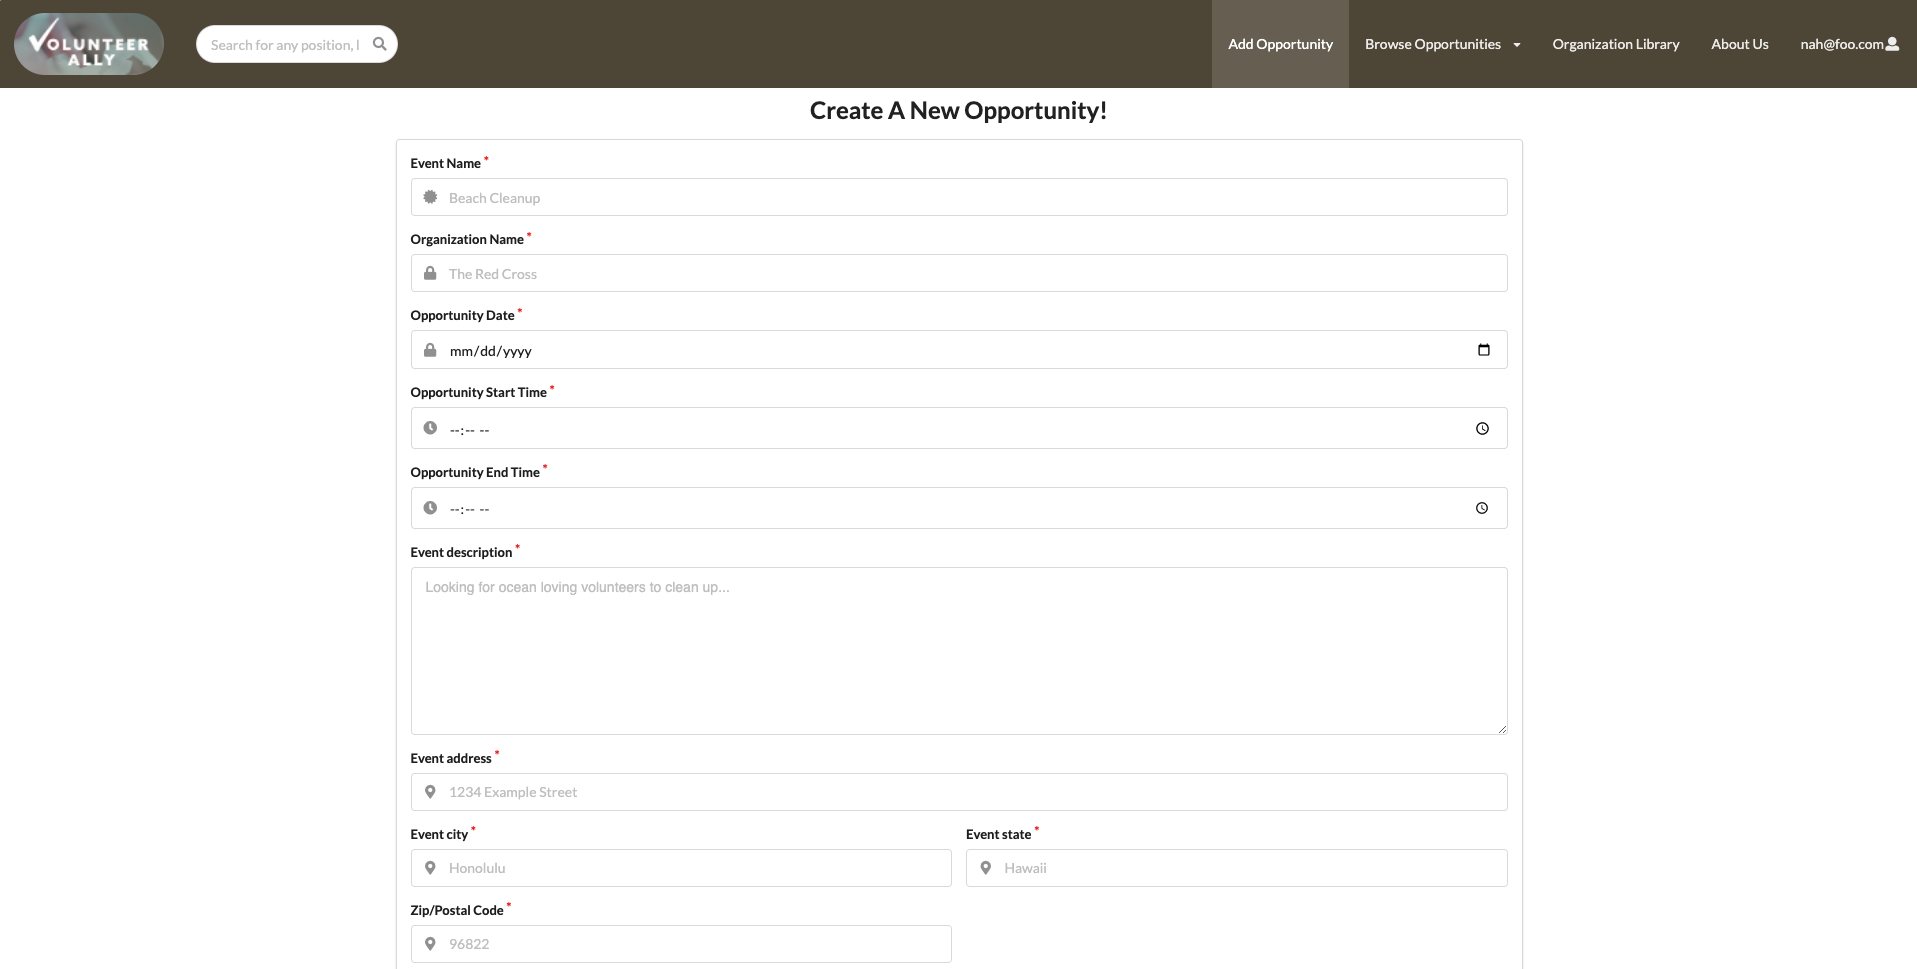

Admin Experience
After logging in with the admin credentials, the admin can manage the database by pressing “Admin” in the Navigation Bar. The admin is first directed to a table with the list of volunteers in the system. For each volunteer, the admin can see the volunteer’s name, email, phone number. In addition, the admin can delete a volunteer by pressing the “Delete” in the “Actions” column.
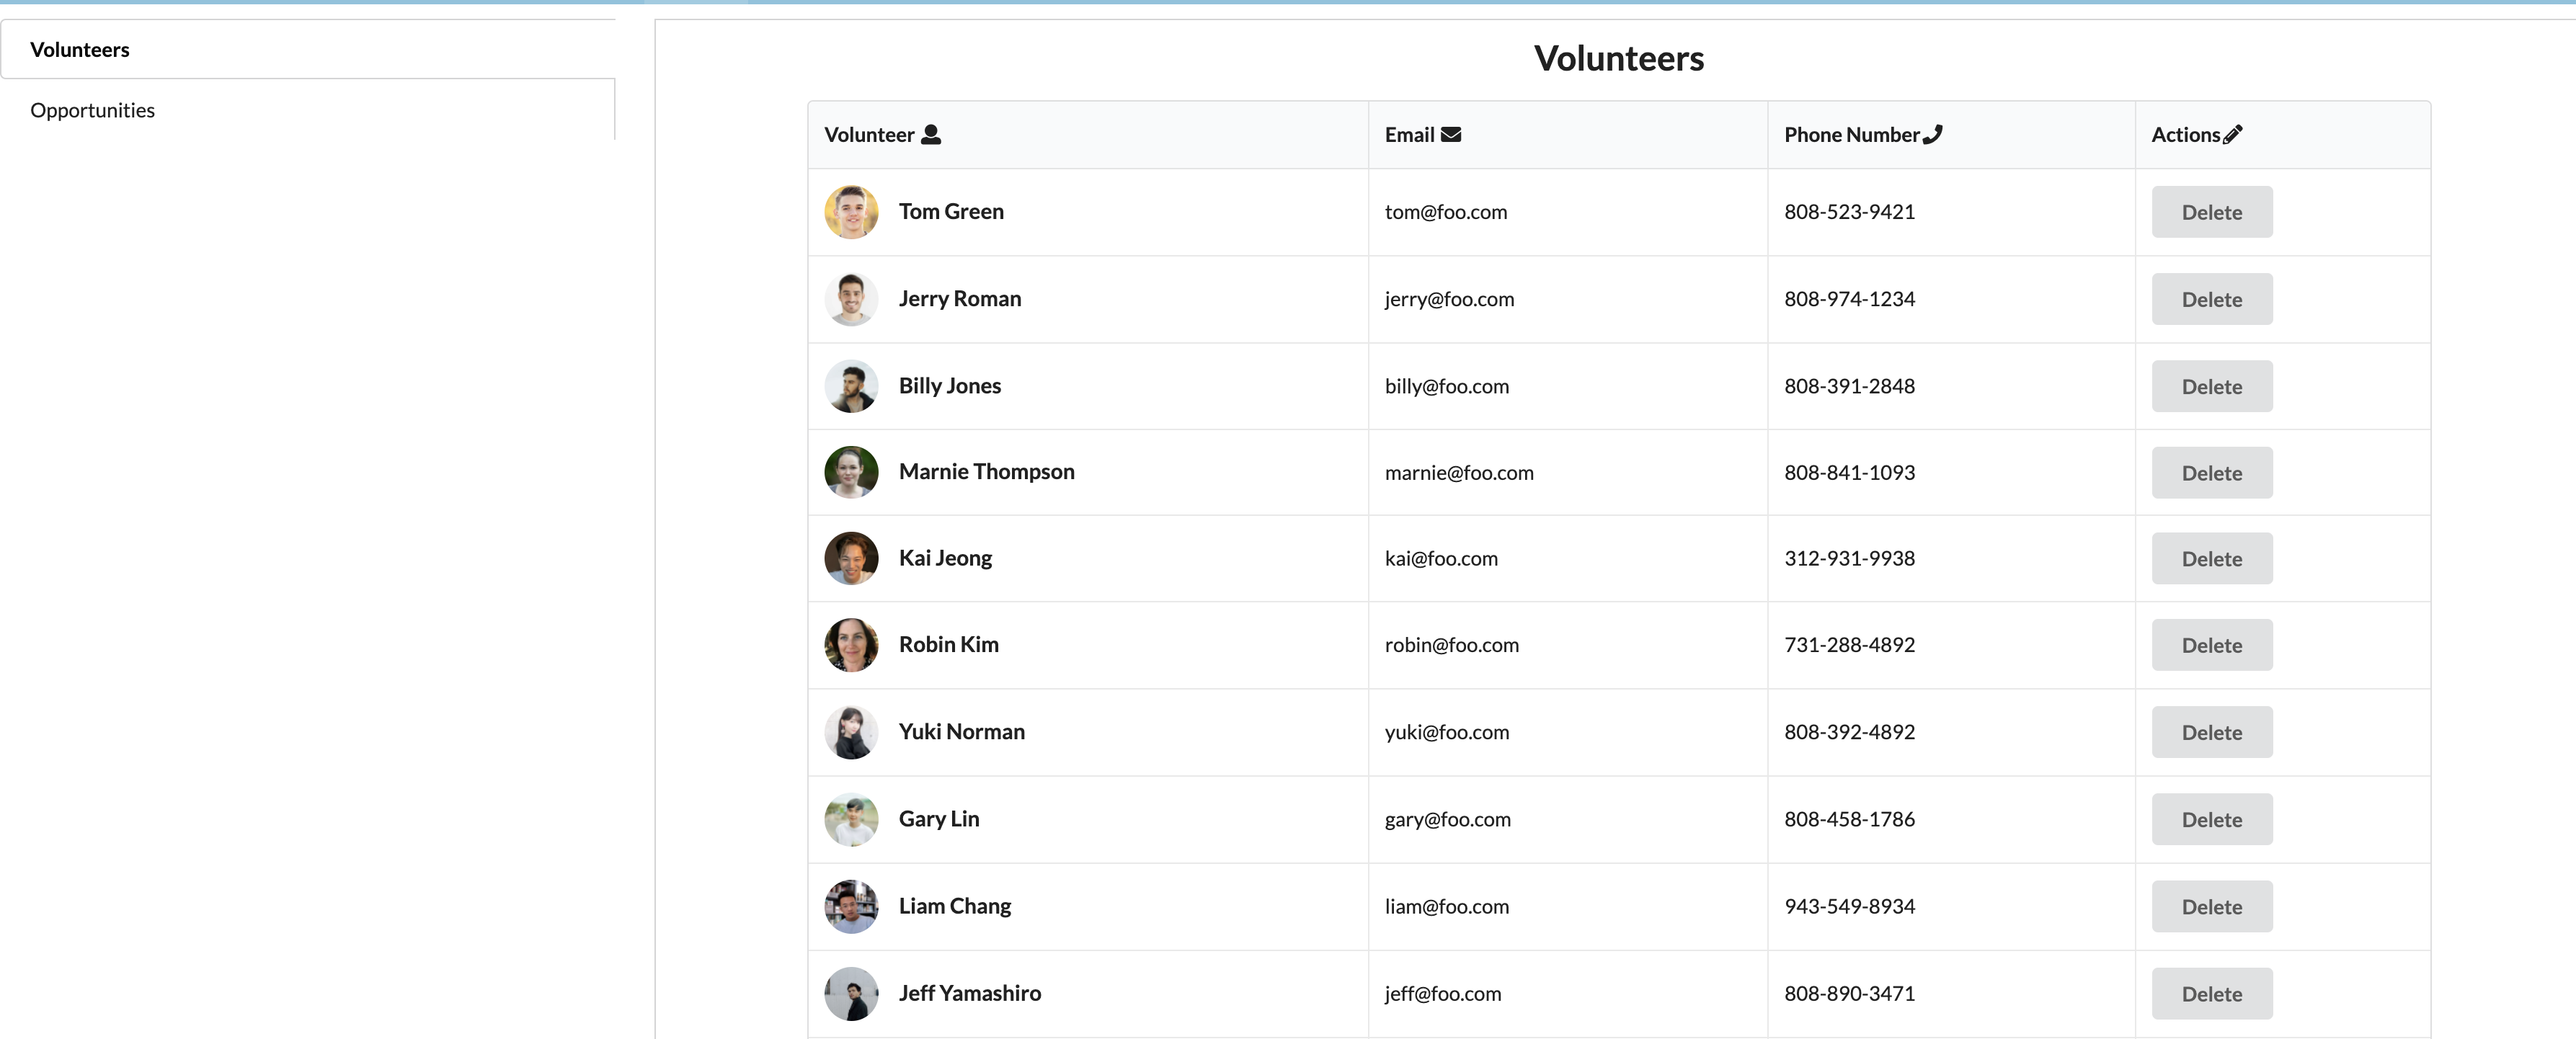
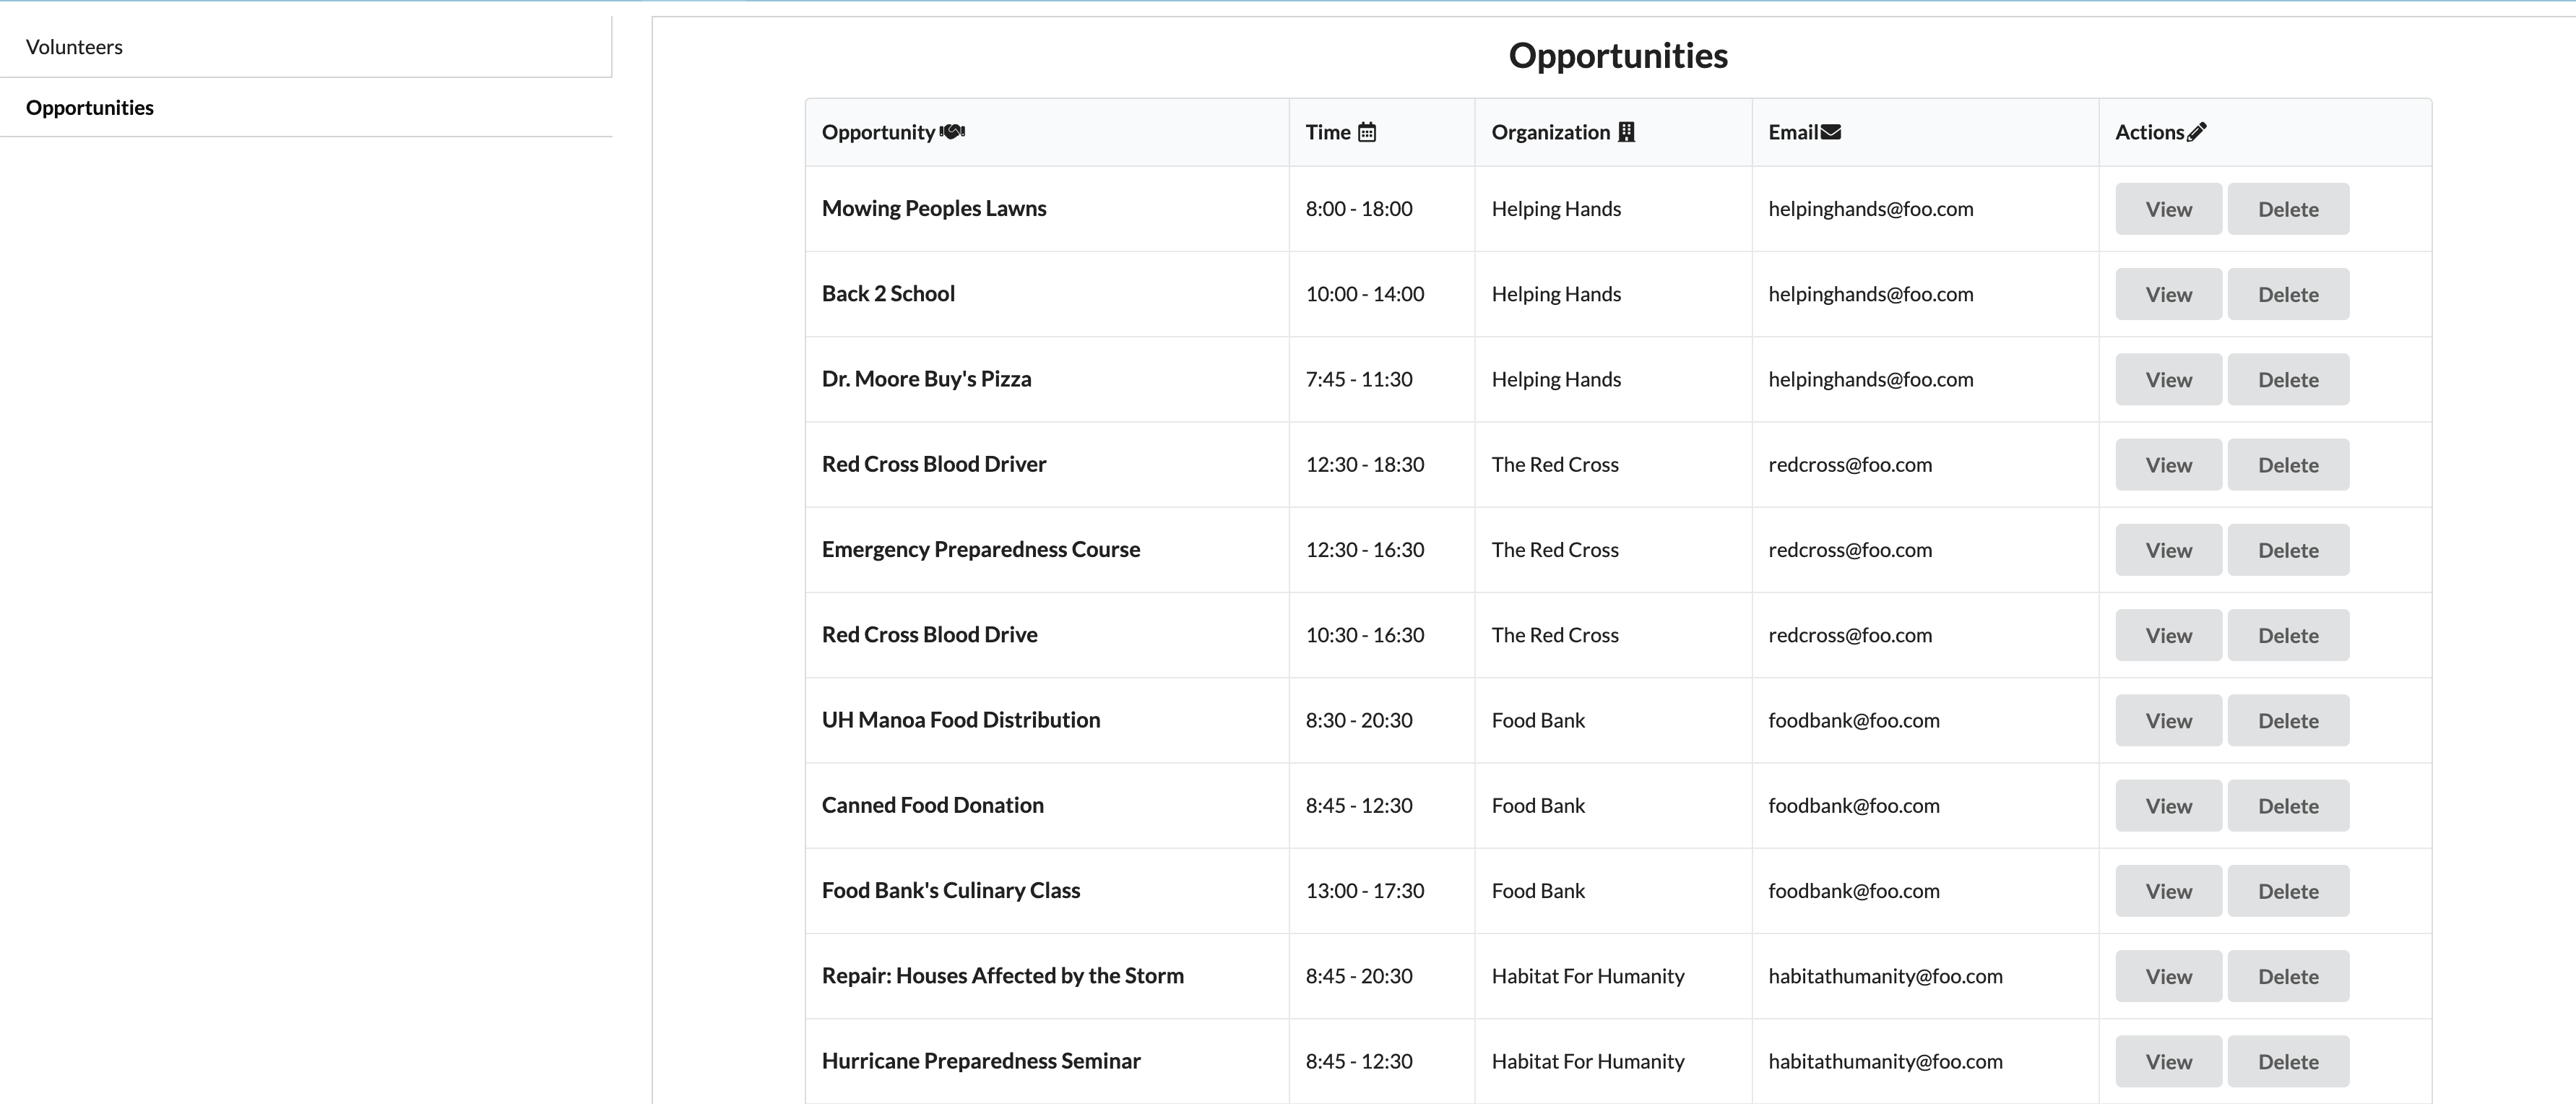
The admin can then go to the table with the list of opportunities. For each opportunity, the admin can see the name, time, organization, and POC email. In addition, the admin can delete an opportunity by the same actions as deleting a volunteer. The “View Button” lets the admin verify the hours that each volunteer did for the particular event and download the the information into a csv file.
Milestones
- M1 Project Board
- M2 Project Board
- M3 Project Board
- M4 Project Board
- M5 Project Board
- M6 Project Board
Community Feedback
Developer Guide
Installation
First, install Meteor.
Second, install package…
Then, cd into the app/ directory of your local copy of the repo, and install the required libraries with:
$ meteor npm install
Development History
Running the system
Once the libraries are installed, you can run the application by invoking the “start” script in the [package.json file]:
$ meteor npm run start
The first time you run the app, it will create default users and contacts.
Here is the output:
meteor npm run start

> meteor-application-template-react@ start /Users/triciamariereyes/Documents/GitHub/kanak-attack-manoa/app
> meteor --no-release-check --exclude-archs web.browser.legacy,web.cordova --settings ../config/settings.development.json

[[[[[ ~/Documents/GitHub/kanak-attack-manoa/app ]]]]]

=> Started proxy.
=> Started MongoDB.
data to be populated....
=> Started your app.

=> App running at: http://localhost:3000/
Note regarding “bcrypt warning”:
You might also get the following message when you run this application:
Note: you are using a pure-JavaScript implementation of bcrypt.
While this implementation will work correctly, it is known to be
approximately three times slower than the native implementation.
In order to use the native implementation instead, run

  meteor npm install --save bcrypt

in the root directory of your application.
On some operating systems (particularly Windows), installing bcrypt is much more difficult than implied by the above message. Bcrypt is only used in Meteor for password checking, so the performance implications are negligible until your site has very high traffic. You can safely ignore this warning without any problems during initial stages of development.
Viewing the running app
If all goes well, the template application will appear at
ESLint
You can verify that the code obeys our coding standards by running ESLint over the code in the imports/ directory with:
meteor npm run lint
Deployment
A link to our deployed application on Digital Ocean